Adjusting colour on your camera
When taking pictures, it's important to consider how the image is going to come out, especially the colours. Colour correcting in photography is important if you want to accurately depict how the photos look in real life. The environment where you take your photo can drastically change how it appears, which is why colour correcting is important to ensure your photo looks as accurate as possible.

Article Categories
The colours in a photo determine the overall look and feel of it. In fact, seasoned photographers would manipulate colours to give their photos an aesthetic they are proud of, like Wes Anderson, who has a specific colour palette he prefers. Colour can be adjusted by three settings:
- Colour balance
- Hue/Saturation
- Contrast
Adjusting your colour/white balancing
To start off, white balance allows your camera to adjust the colour tones to achieve a neutral colour balance. This helps to neutralise the colours in the photo so nothing looks too washed out or too blue or too green.
Press the MENU button and navigate to camera settings to find the White Balance option and you’ll see a variety of presets show up on screen. The default setting is AWB Auto, and this is usually enough for normal circumstances. However, there are some instances where AWB Auto may fail, usually when there are multiple light sources in the scene, or the weather interfering.
This is where the other settings for white balancing such as Daylight and Cloudy and several settings for different fluorescent lighting come into play. Feel free to explore and play around with them!
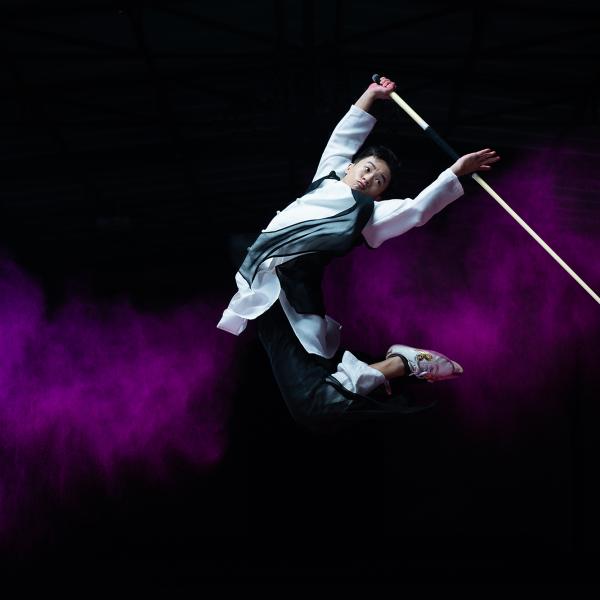
Saturation
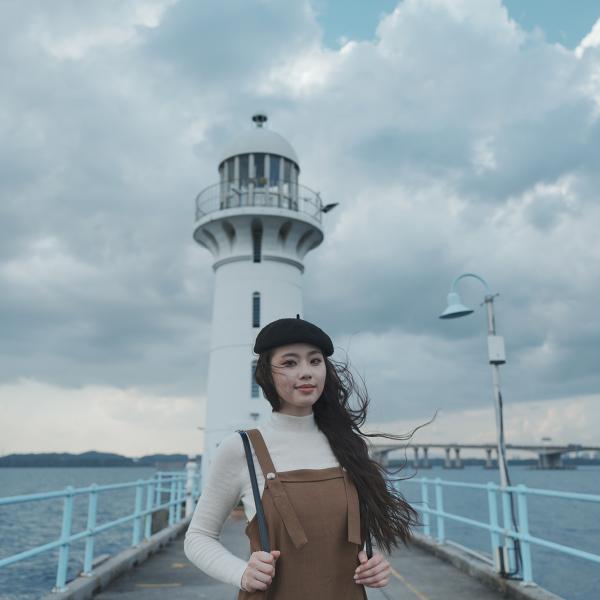
Once you’re done adjusting the colour tones in your camera, it’s time to move on to the hues and colour saturation. Colour saturation is the intensity and purity of colour as displayed in an image. The higher the saturation of a colour, the more bright and vivid it is and the more intense-looking the photo will be. Lower saturation means the colours are duller and more muted, and the image will come out more sombre.
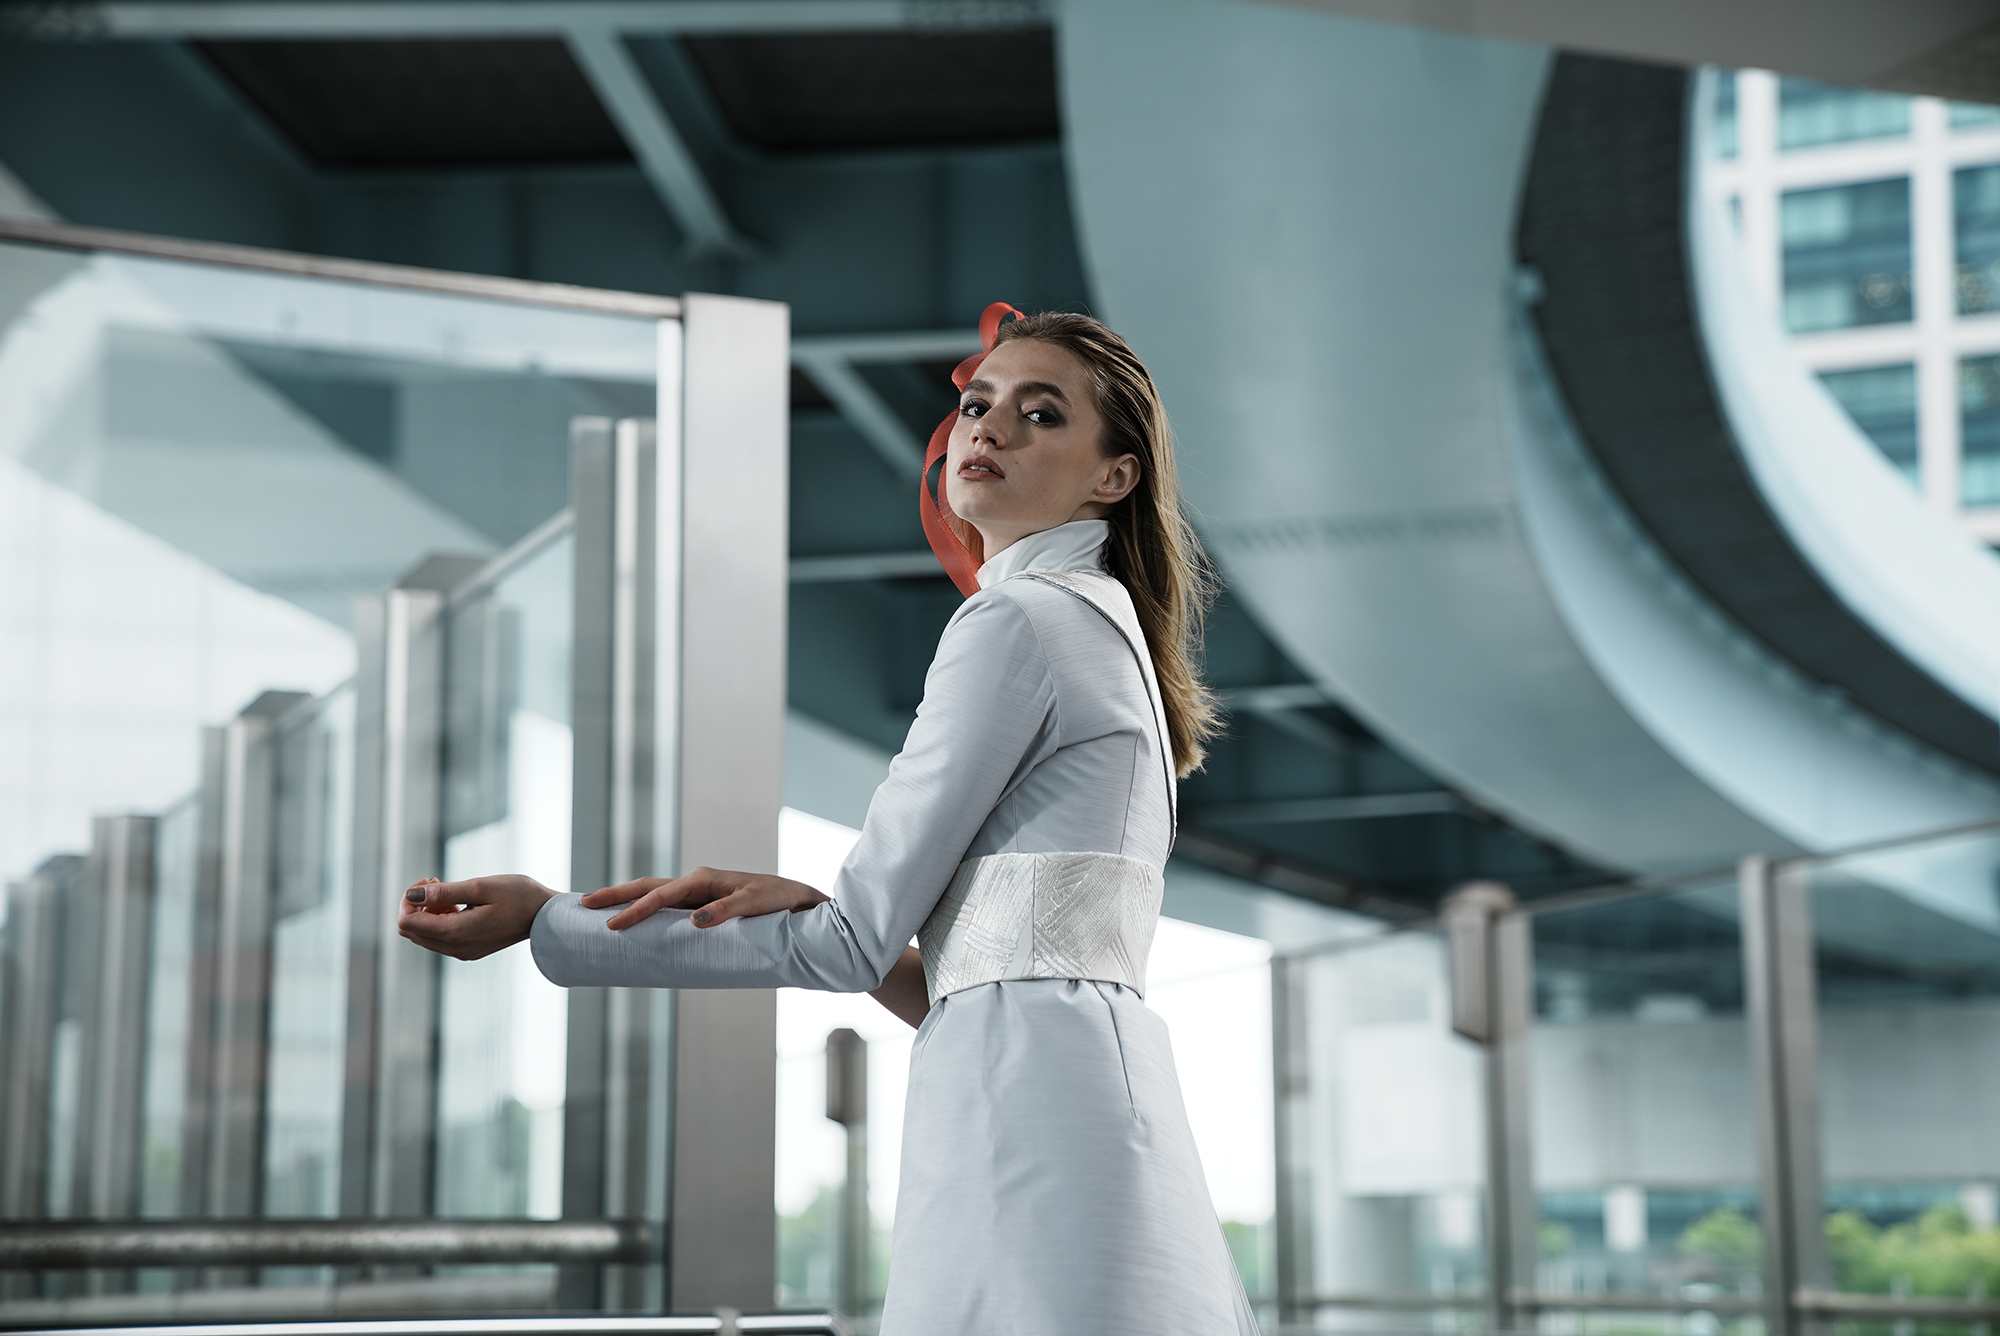
High Saturation image
Low Saturation image
To adjust the saturation in your camera, for cameras with Creative Look: MENU → (Exposure/Colour) → [Colour/Tone] → [Creative Look].
For older models with Creative Style: MENU → (Camera Settings) → [Creative Style] → desired setting
Contrast
Another thing to look out for when trying to adjust colour tones in your camera is contrast. Every image has a mix of shadows, highlights, and midtones. Shadows are the darkest, highlights are the brightest, and midtones are everything in between.
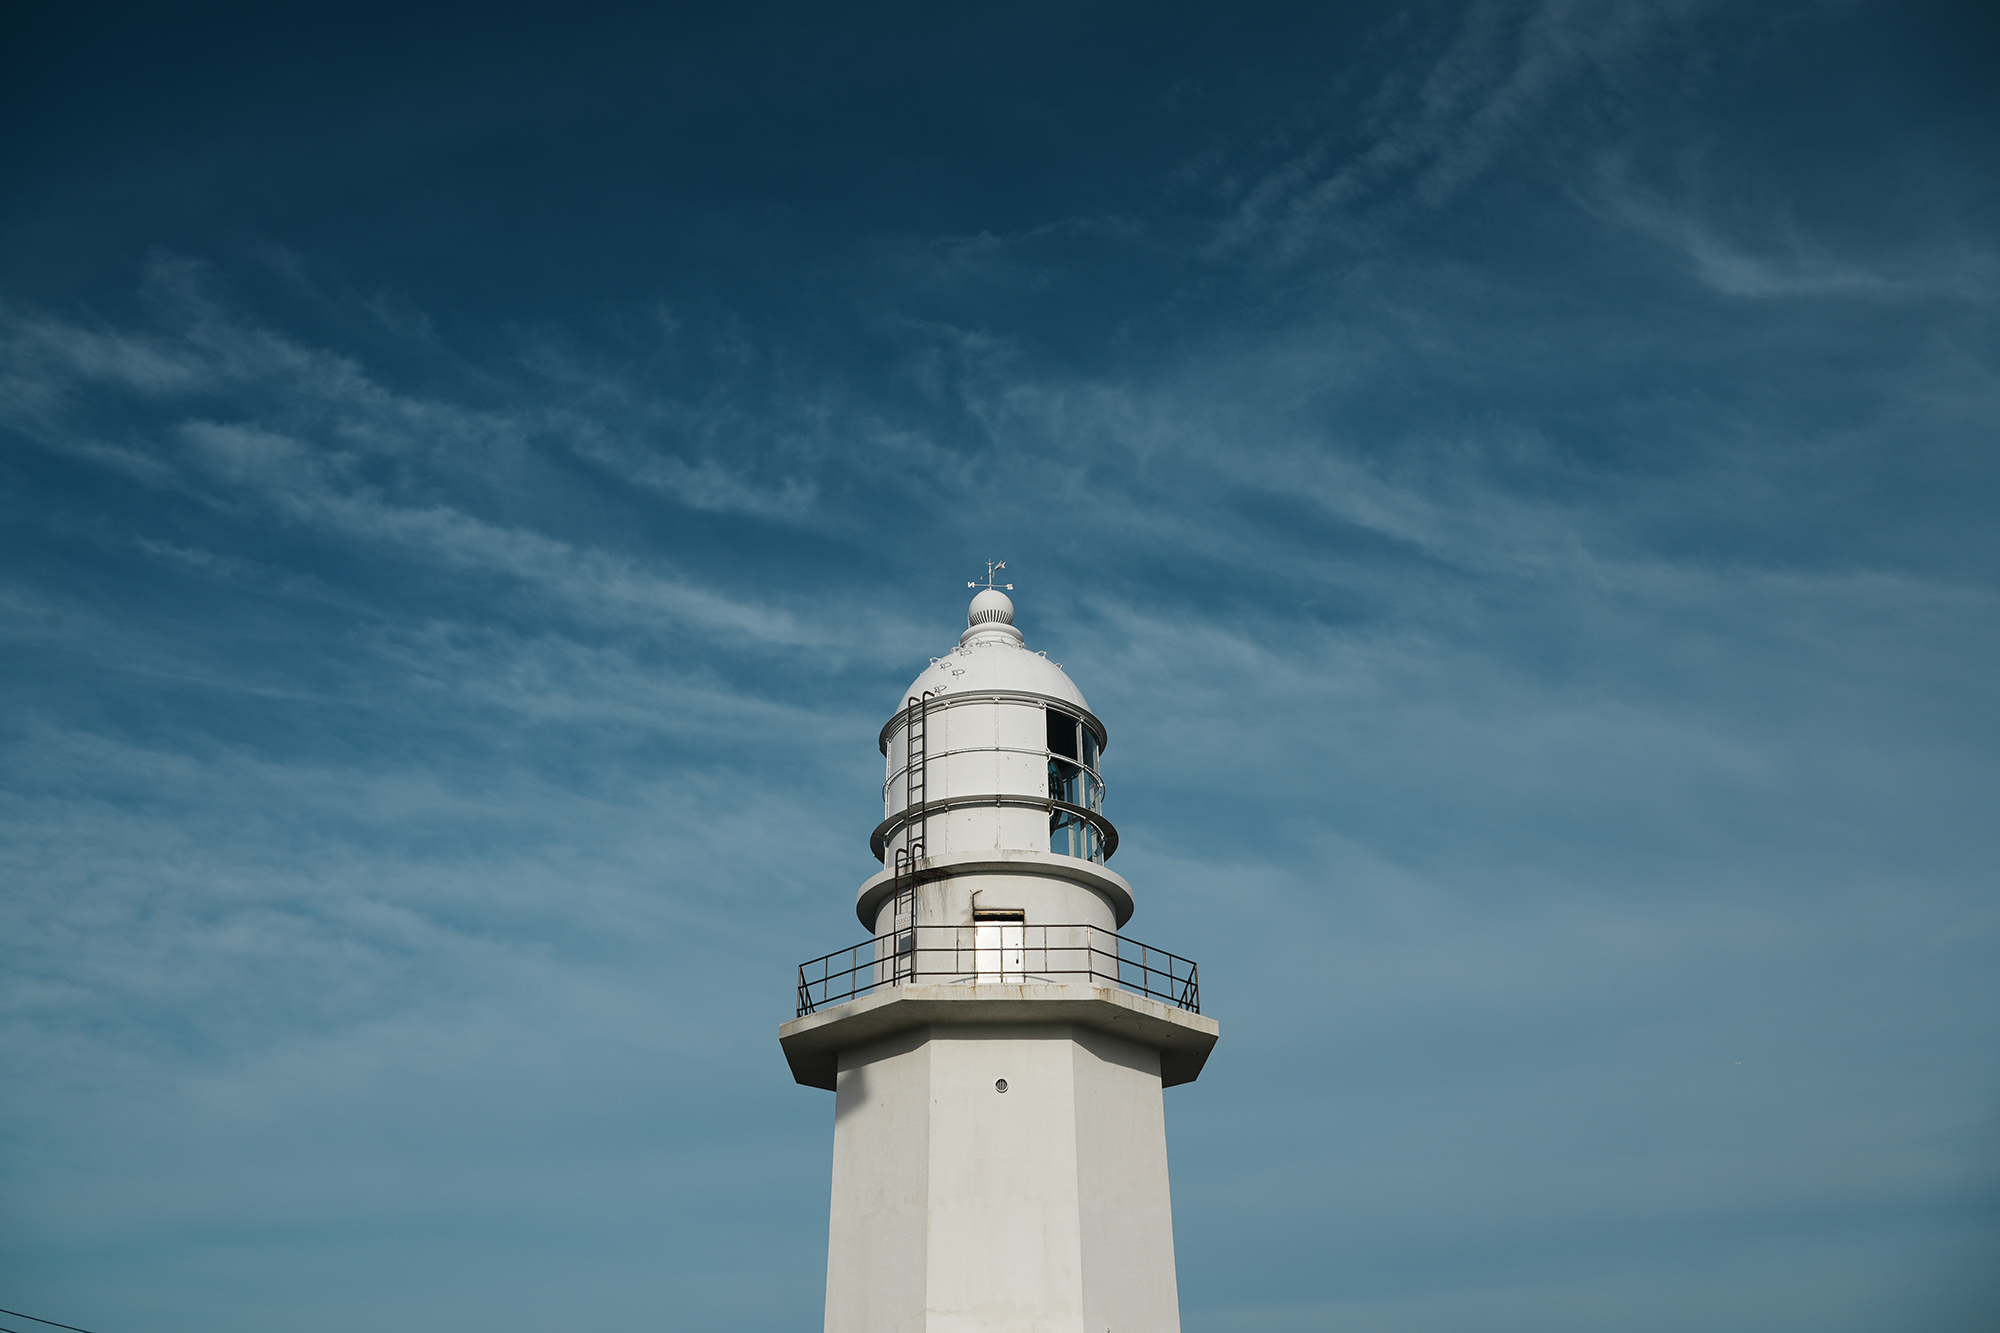
Shot with FL preset

Shot with IN preset
Creative Look (Alpha 7S III, Alpha 7 IV)
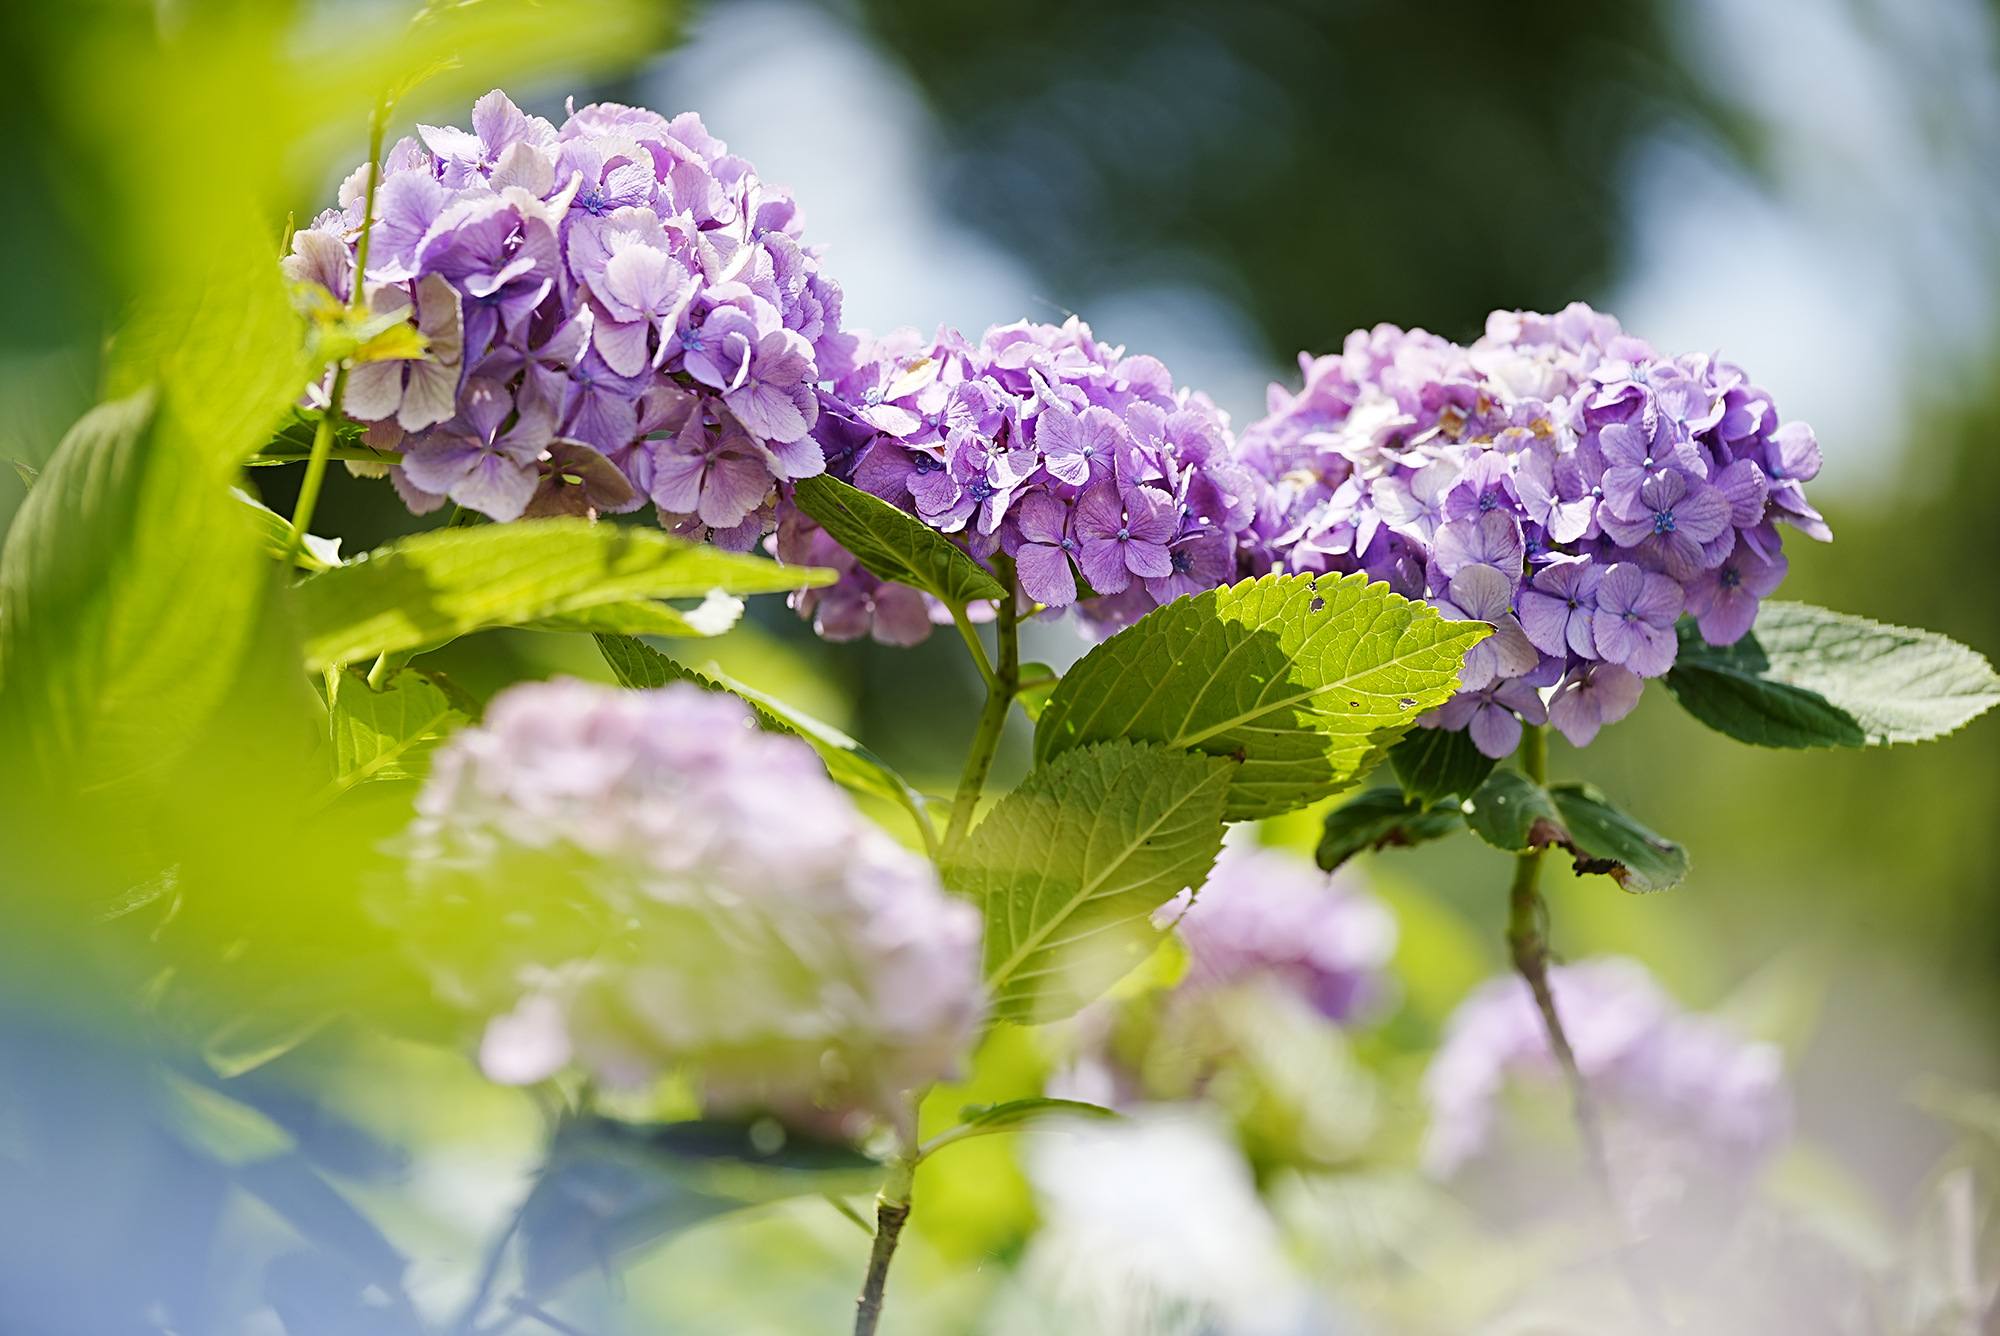
Another way you can adjust colour is by using Creative Look, which offers ten in-built unique preset looks called styles that help you to craft your preferred mood or atmosphere. Not only is it incredibly easy to set up (as shown earlier), it also allows beginner photographers to process their photos with ease. Depending on your preference, you may pick a style that suits the mood you want to portray in your shot. For instance, the SH style paints a bright atmosphere with transparency, softness and vibrancy to create a soft, gentle mood while the IN stye reduces contrast and saturation for a matte texture that gives off elegant, vintage vibes.

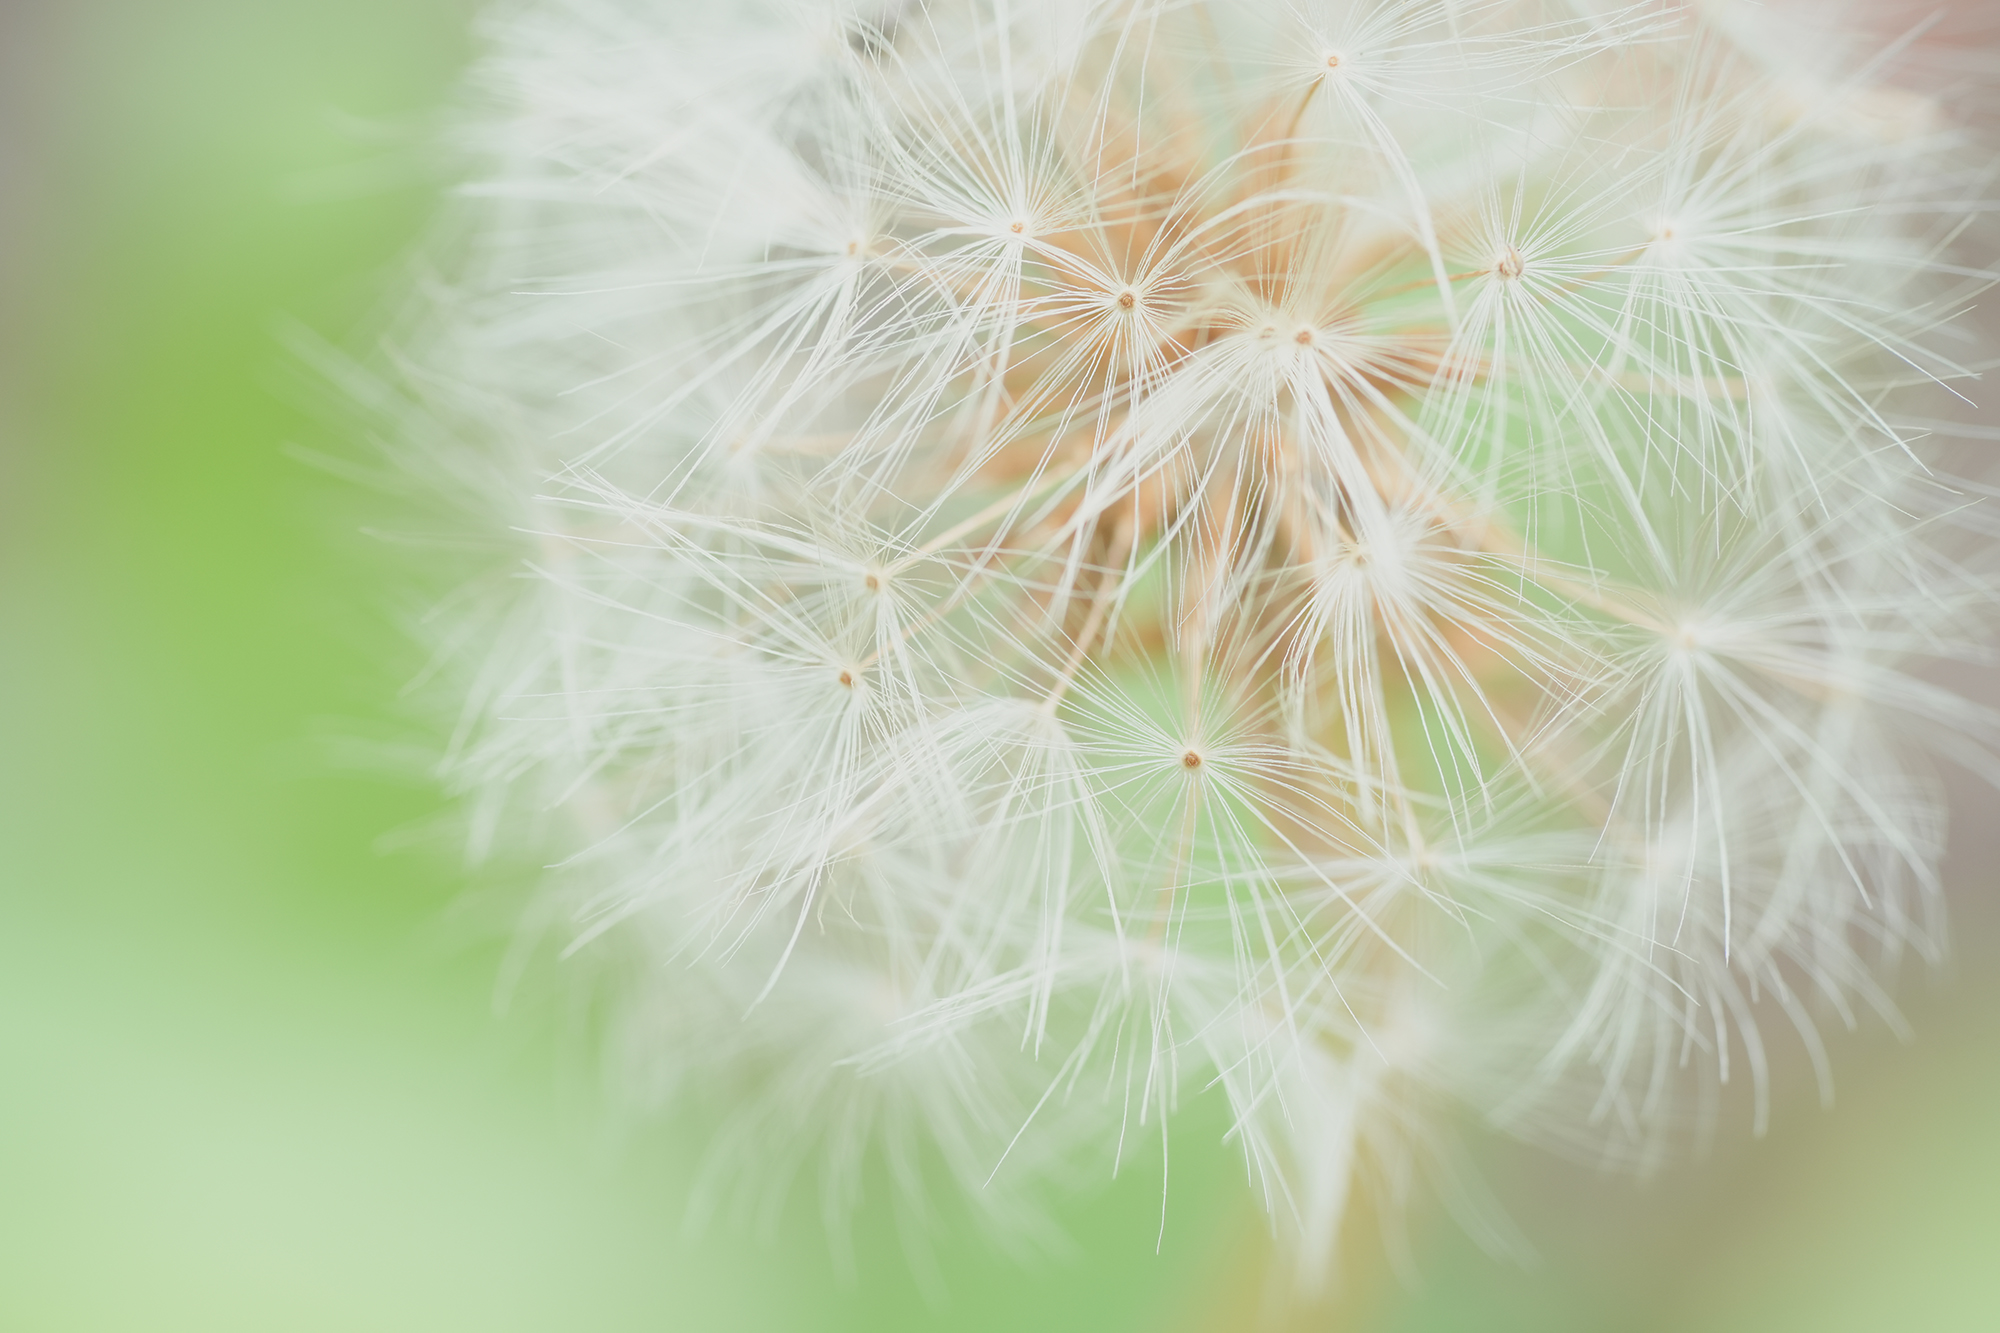
Shot with SH style

Shot with IN style
If you find yourself limited by the options available, you may choose to customise your own Creative Look profile by fine-tuning contrast, highlights, shadows, fading, saturation, sharpness, sharpness range, and clarity based on your selected mode. Once that’s done, you may save it as a custom look for future use. What’s more, you can save slightly different versions of the same mode so that you can use different versions of your favorite modes for different scenes.
Creative Style (Alpha 7C, Alpha 9 II, Alpha 7R IV)
Like Creative Look, Creative Style is a function that provides unique preset looks in older Sony Alpha cameras. Depending on your camera model, there are 16 to 13 styles available for you to choose from, allowing you to capture different impressions of the same subject by adjusting tones, depth of colour, brightness, contrast and sharpness. You may also fine-tune presets according to your preference the way you would for Creative Look.
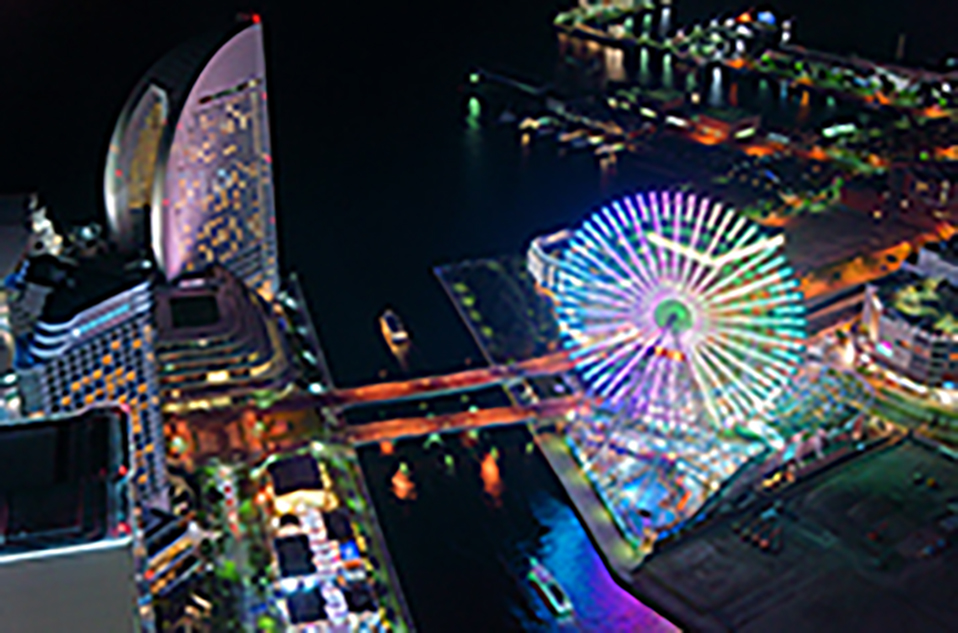
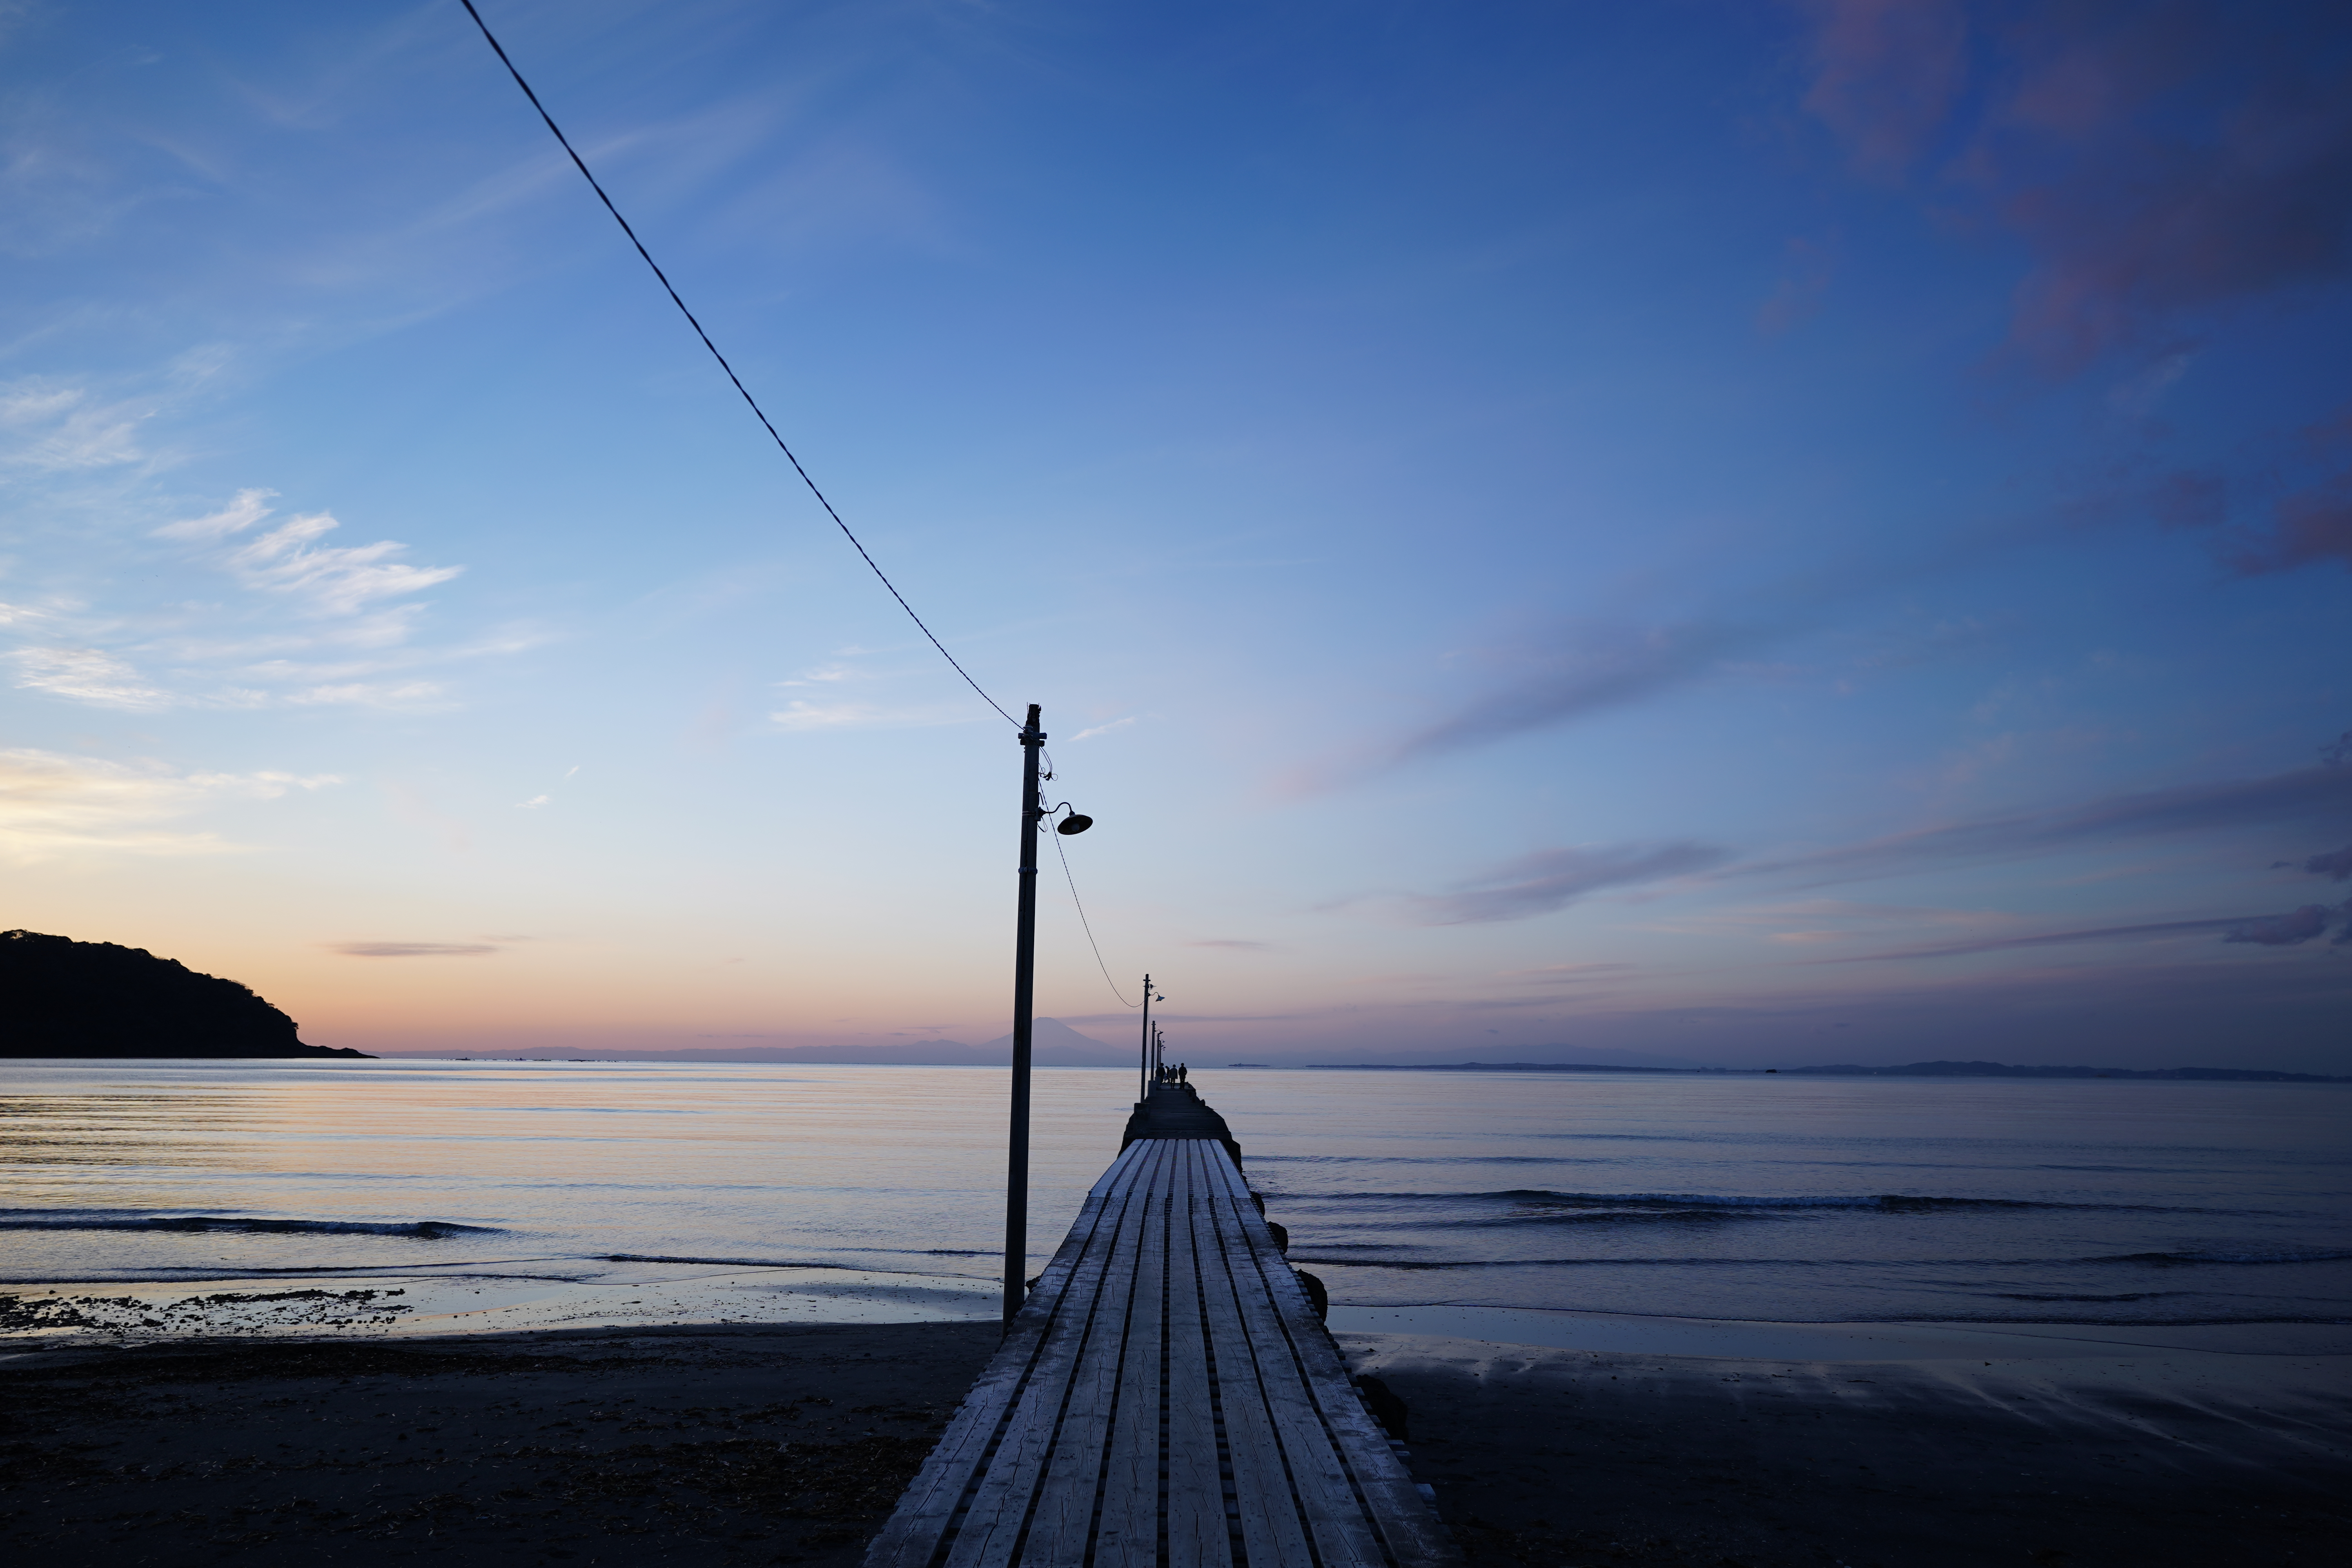
Shot with Vivid style
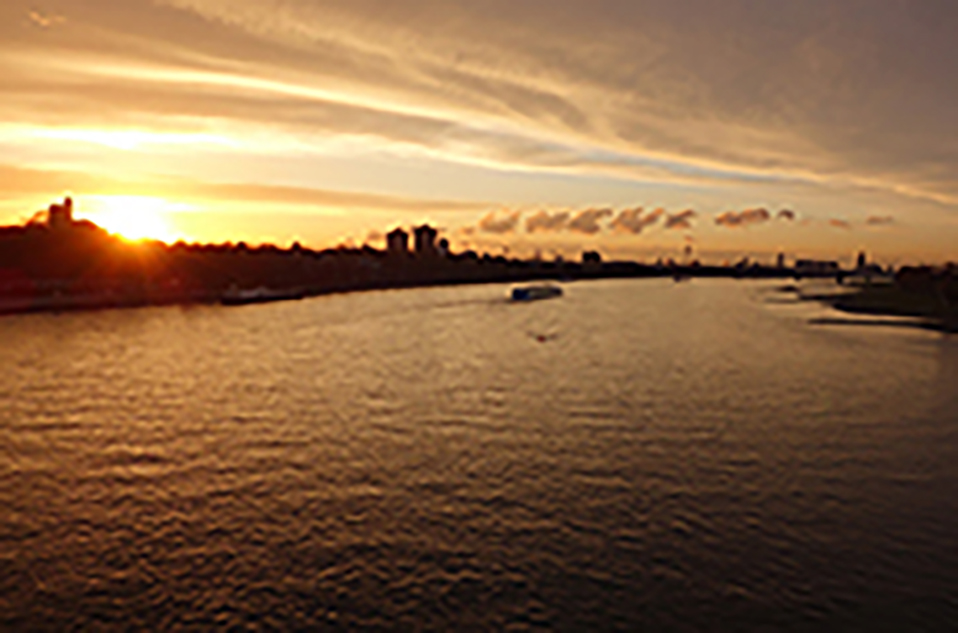
Shot with Sunset style
No matter what photos you’re taking, the best thing about colour correcting is that you get to have fun with it — play around with the settings and go crazy! Make your pictures as intense or as muted as possible to find out what colours, tones, and moods you like the best.