FE 14mm F1.8 GM | Shoot Milky Way and time-lapse shots | Review by Jay Evans
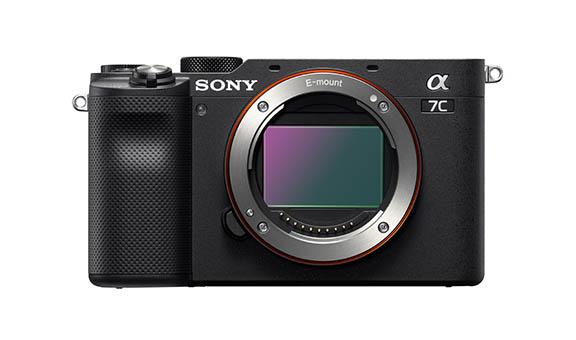
Jay has an affinity for photographing our world at its natural best, and captures various landscapes, seascapes, nightscapes and astro shots. His photography kit of choice includes the Alpha 7C, the FE 14mm F1.8 GM prime lens and the FE 12-24mm F2.8 GM zoom lens.


Shooting for the stars: My beginnings in astrophotography
I got my first digital camera in 2008 and was fascinated by its time-lapse feature. My first few time-lapse shots were in the mornings and evenings, but after spending hours in darkness capturing cruise liners docking in Sydney Harbour, I was captivated at how I had also captured the movement of the stars in the dark night sky.
That led me to start photographing star trails, and while I was on a remote overnight hike in the Warrumbungles, realised that my camera could actually capture the Milky Way! I was immediately hooked.

The stunning natural landscapes of Australia are a huge inspiration to my photography, but my passion for astrophotography truly stems from the thrill of finding a location devoid of light pollution – where I can capture natural features in a landscape, with the night sky as a gorgeous backdrop. This continually inspires me to plan, prepare and get out there!
Astro settings
Here's a quick start guide on general settings you can use to take great photos of star trails, the Milky Way and time-lapse shots.
- Turn "Long Exposure Noise Reduction" off
- White balance: Use a Kelvin setting of 4000
- Shoot in RAW Uncompressed to maintain high bit depth for dynamic range and colour
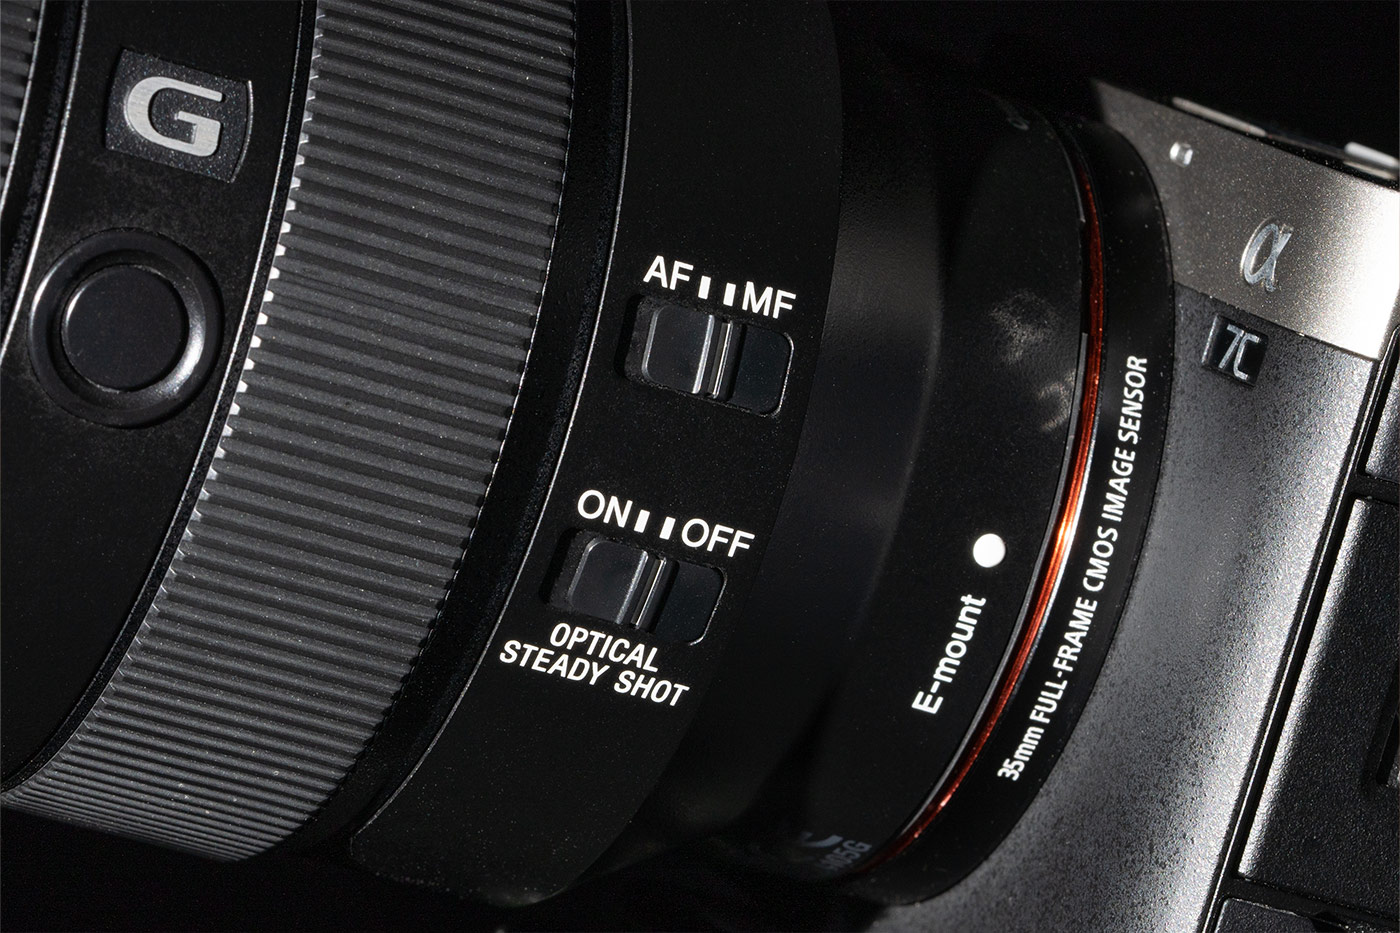
- Turn off Steadyshot/OSS (if your lens has it)
- Mount the camera securely on the tripod

The prime choice for astrophotography
A prime lens like the FE 14mm F1.8 GM provides a wider aperture, allowing photographers to capture more light.

While we can push our digital sensor to a high ISO, having a few extra stops of aperture can be the difference between capturing a dark landscape with the night sky in a single shot, or needing to snap multiple images and employ technical post processing techniques to create the image. This gives you more time in the field to consider composition and move around a scene, rather than focusing on stacking.

The outstanding resolution of the FE 14mm F1.8 GM means it can capture pinpoint stars when exposed (to account for the motion of the stars). Also, this prime lens has incredibly well controlled coma, so stars look really sharp across the entire image.
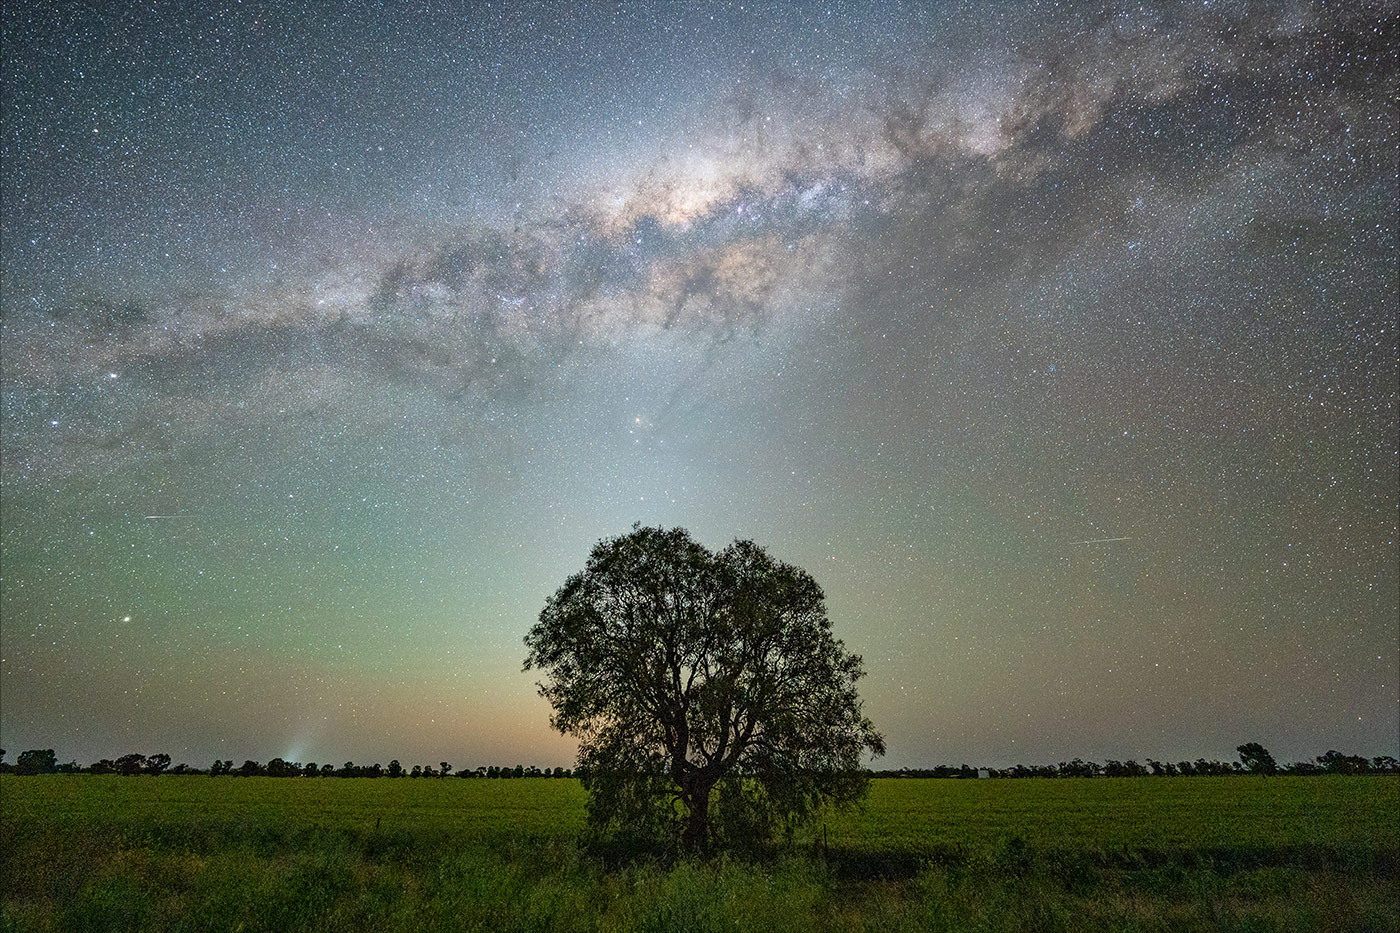
A moonless night in Australia's International Dark Sky Reserve
I set up my camera on the roadside next to a paddock of wheat, just after last light, and was facing west as the Milky Way set in that direction (at that time of year).
Capturing just after last light allowed me to get some residual colour of sunset on the horizon, with the stars and Milky Way visible above. A small low-lumen video light was waved across the scene for a few seconds while shooting to add some light to the foreground and tree. Venus is also visible in this shot.
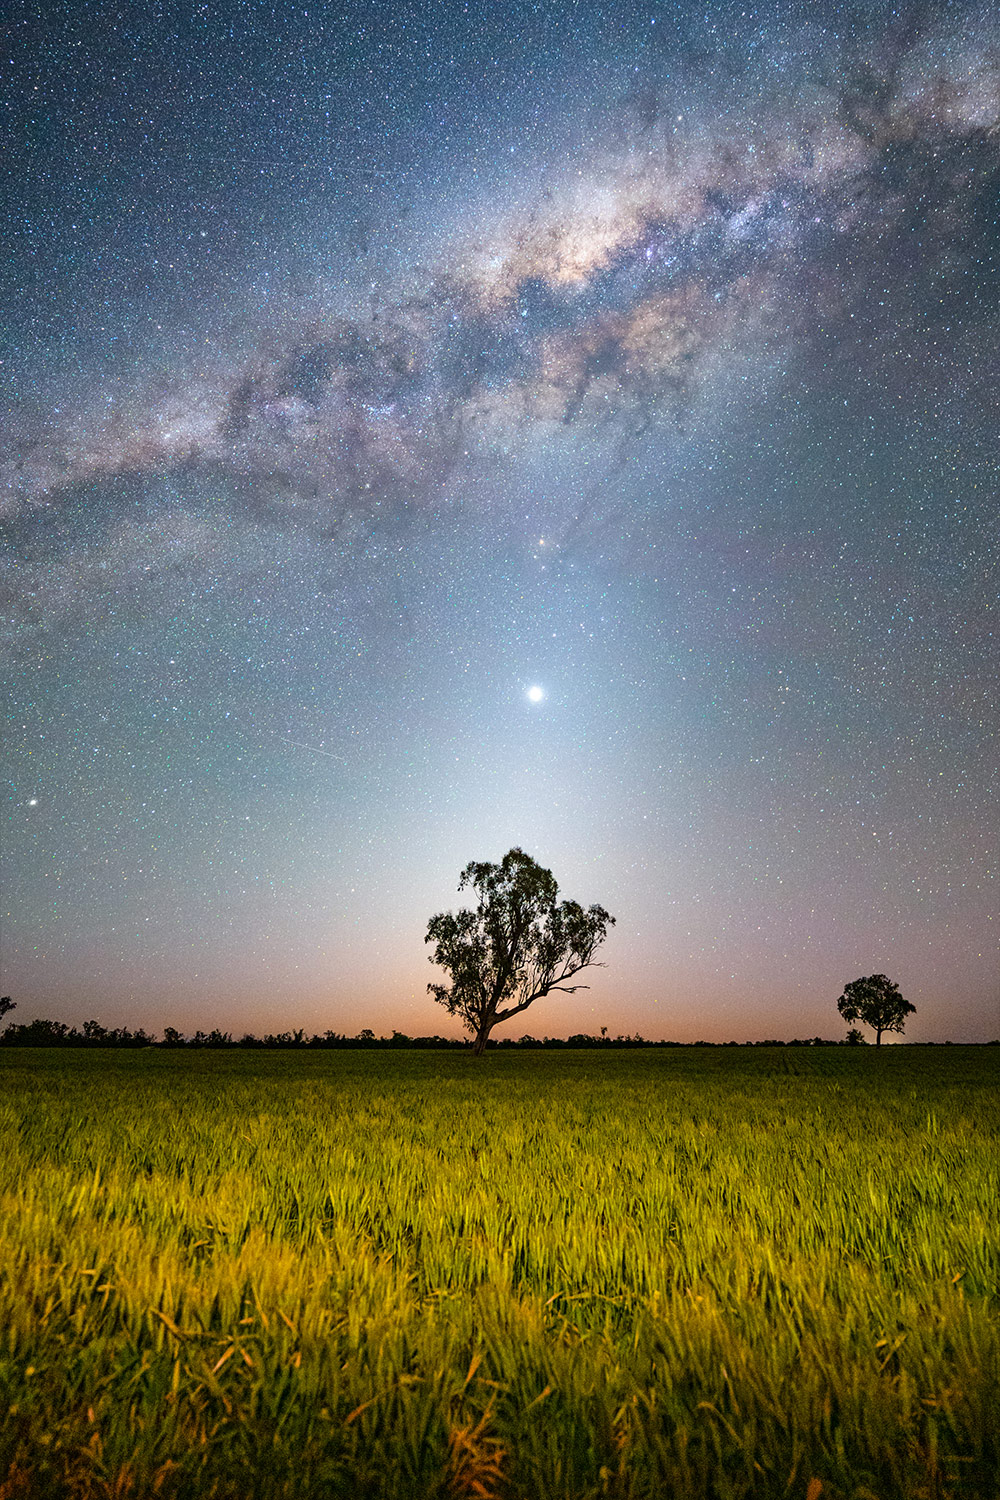
Tips on distancing
The tree was approximately 15 metres away, inside the paddock. When composing astro shots and nightscapes with a wide-angle prime lens, it's important to consider your distance from your foreground subject. This not only ensures that your subject remains sharp in the hyperfocal range at a wide-open aperture, but also means that it'll work well in the composition.
Pro advice: Practise and safety
The biggest tip I can offer to any astrophotographer is to "just get out there" and shoot! You are unlikely to snap your "dream photo" of the night sky without getting some practice. So, even if you don't have a plan – on a clear night, just get outside, point your camera skywards, and see what you can capture!
Do remember that any outdoor photography involves an element of risk. This is accentuated at night, because of the darkness. Please ensure you are prepared, maintain a "safety first" mindset, and be aware of your surroundings at all times.
Time-lapse: Capturing the beauty of the night sky
One of the most beautiful aspects of astrophotography is the time-lapse video, which is made up of photographs taken over a period of time. In seconds, a time-lapse video can showcase the gorgeous changes that happen over an entire night – and captivate audiences.
The possibilities for your time-lapse shots are endless, but these tips can help you get started:
- Compose your scene: Before starting your time-lapse sequence, look at the scene, compose it thoughtfully, and consider what is likely to change, what aspect of motion you wish to capture, and whether anything may interfere with your shots (like objects entering the scene)
- Take a few test shots: Check your images for focus. Check for distracting elements that might not be obvious to the eye, and check your lighting to ensure that ou are capturing details in the foreground that can be pulled out in editing later.
- Set the "Interval Shoot Func.": To maintain the movement of stars and the sky in your astro time-lapse, use the Interval Shoot Function on the camera and set the interval to the same time as your exposure. This ensures that as soon as the shutter closes on one frame, it immediately opens for the next.
- Once complete: Export your frames, then import them as a sequence into Adobe After Effects, Adobe Premier, Davinci Resolve, or LRTimelapse. There are plenty of online resources available on how to compile your time-lapse sequences into a final video file.
- Extra motion: You can introduce extra motion in your time-lapse by setting up the camera on a tracking mount, motorised rotator or motorised slider.
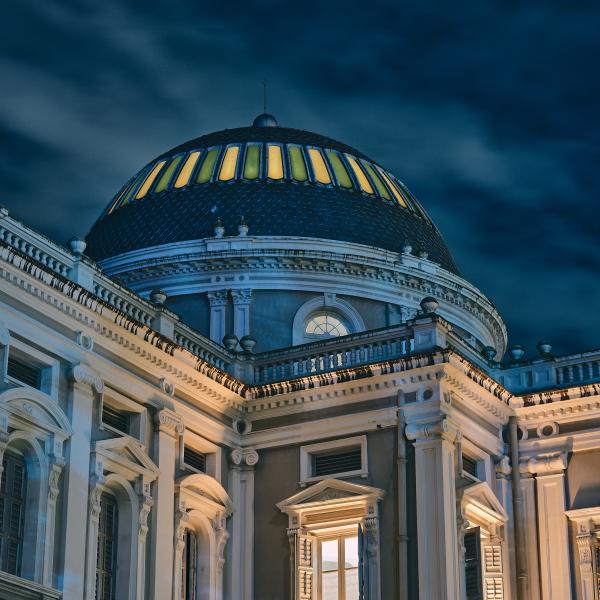
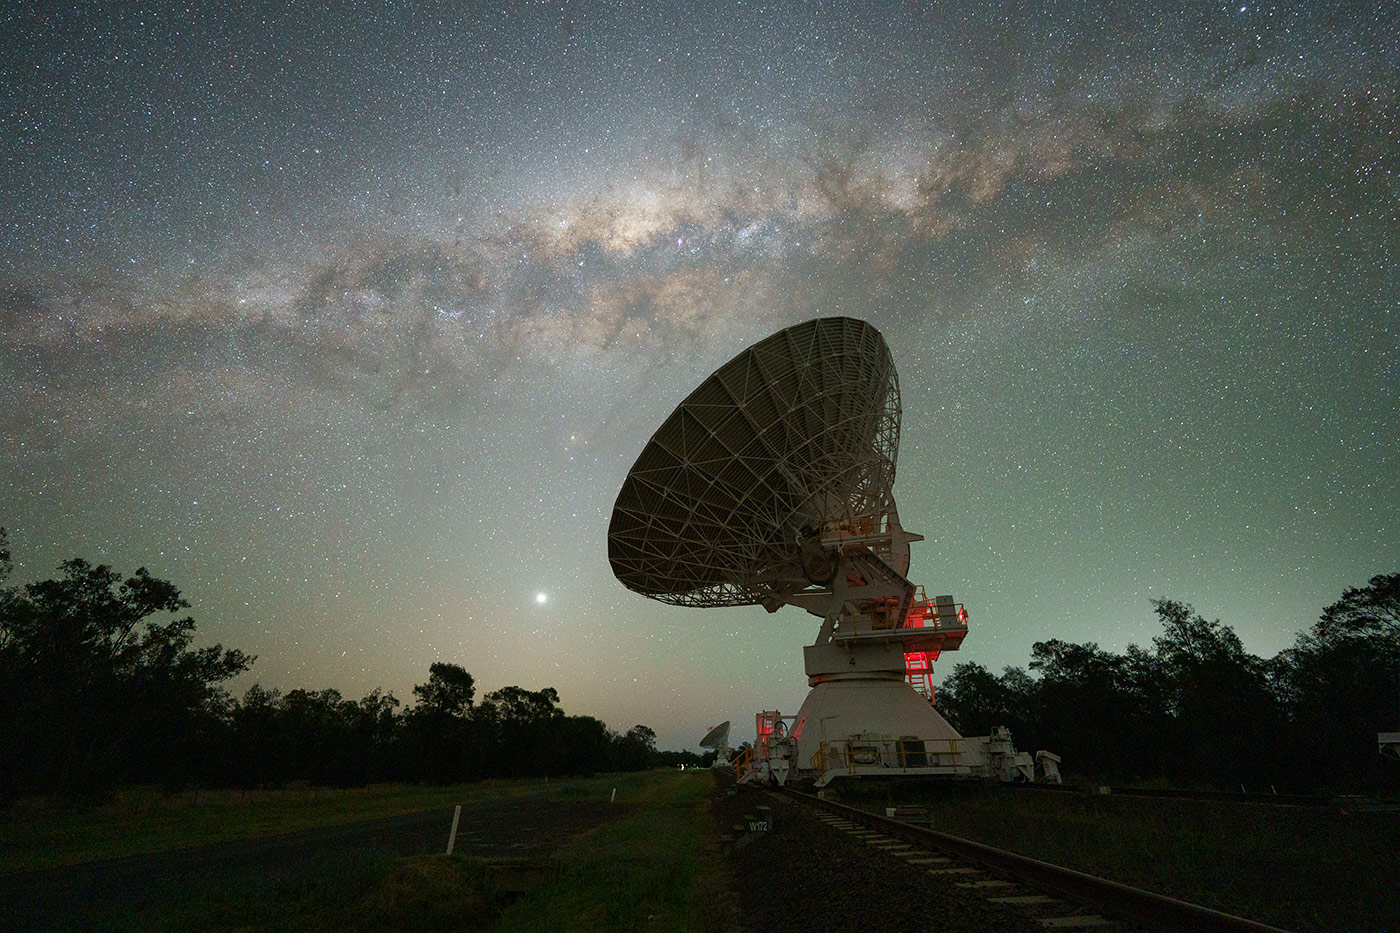
Observing the Milky Way at ACTA
Every month during the new moon, Australia's Commonwealth Scientific and Industrial Research Organisation (CSIRO) hosts an open night for photographers at the Australian Compact Telescope Array (ACTA) in the Paul Wild Observatory near Narrabri.
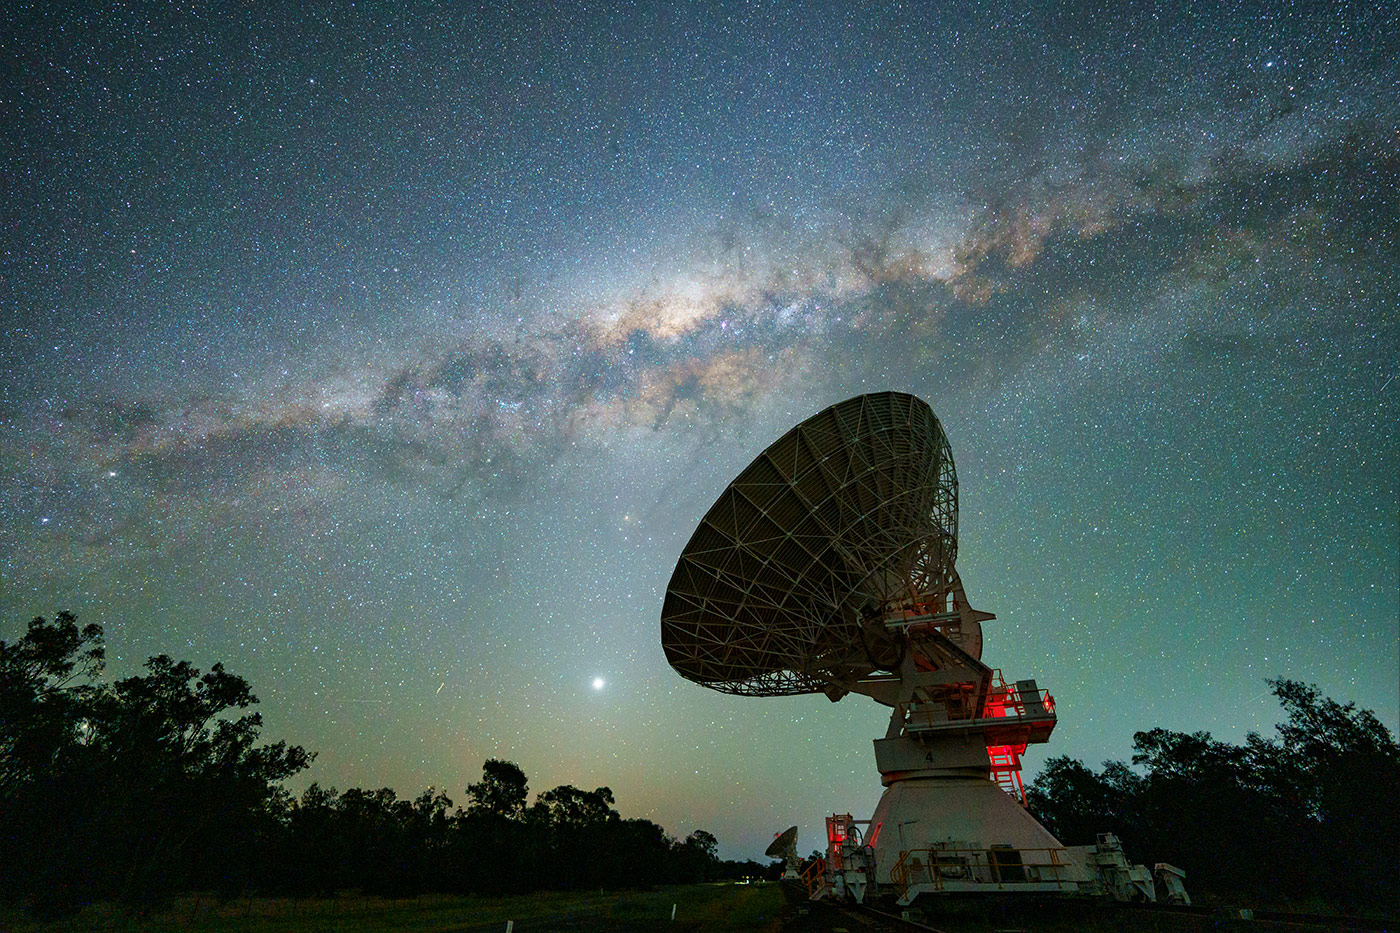
On this night, we were treated to an incredibly clear sky to watch the setting Milky Way behind some radio telescope dishes. This was a dark moonless night, with some green airglow, and residual orange light of sunset lingering on the horizon.
Here, the F1.8 aperture was very helpful in capturing residual light in a dark foreground, while keeping the colours of the night sky incredibly detailed.
Tips on distancing
The telescope dish is much larger than it looks, towering 15 metres into the sky! For safety reasons, we were not allowed within 15 meters of the base. However, standing at this distance provided the perfect opportunity to use the wide angle 14mm to great effect – with the Galactic Core and Milky Way band stretching across the sky.
Pro advice: Shooting in the dark
In astrophotography, you'll need to know how to operate your camera in the dark. So you'll want to learn how to change important settings like white balance, ISO, aperture and exposure – even in very low light situations.
You should instinctively know how to switch your focus to manual, and practise manually focusing on stars. Other important skills to know are how to change your lens and battery in the dark, as well as setting up your tripod and mounting your camera when light is at a premium.
The more your practise – even in daytime – the better you'll become. Eventually, these will be second nature to you.
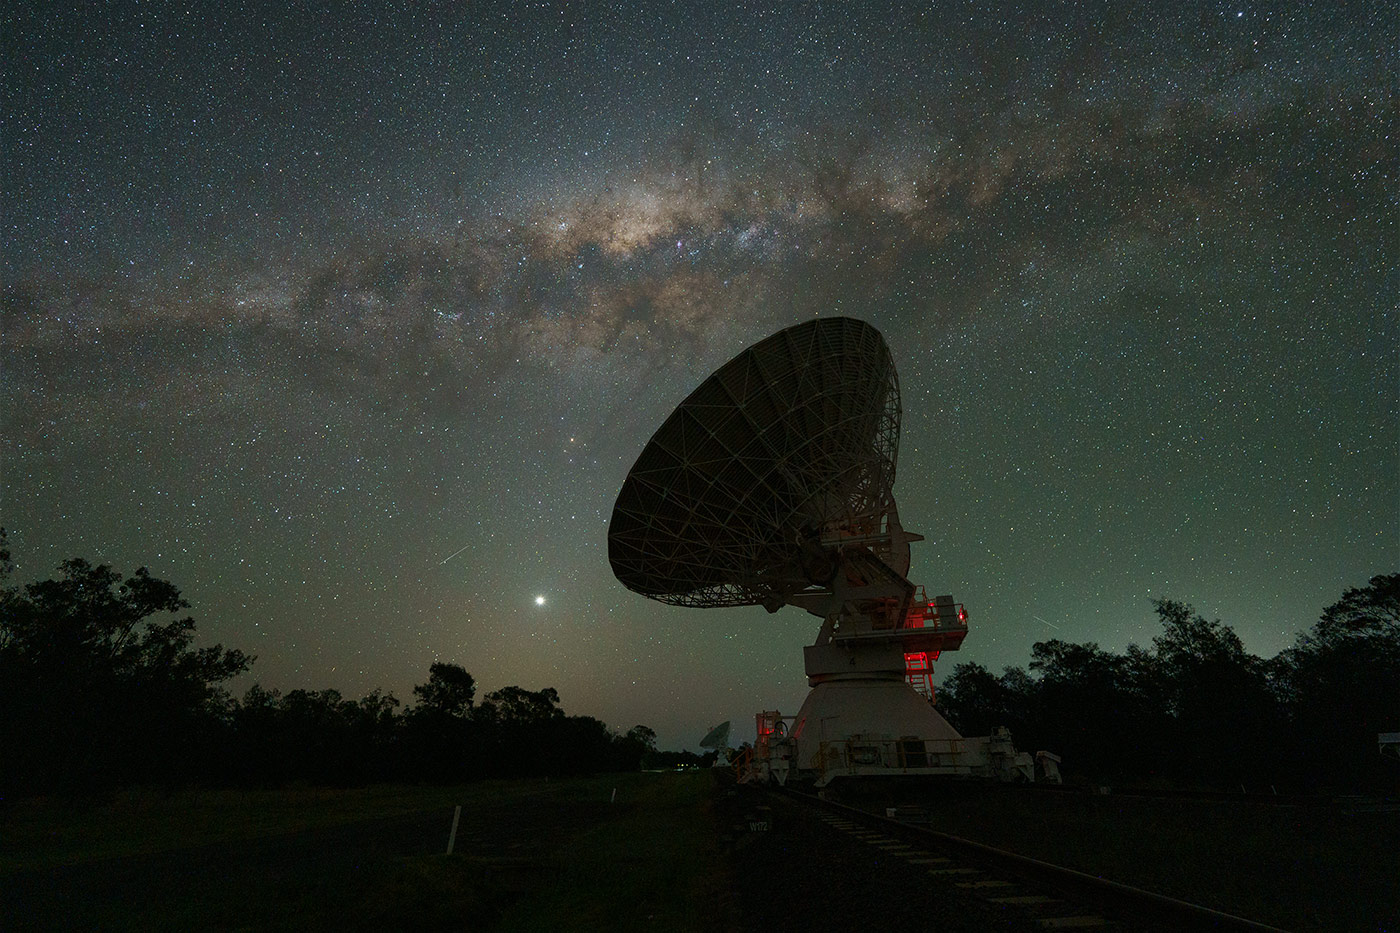
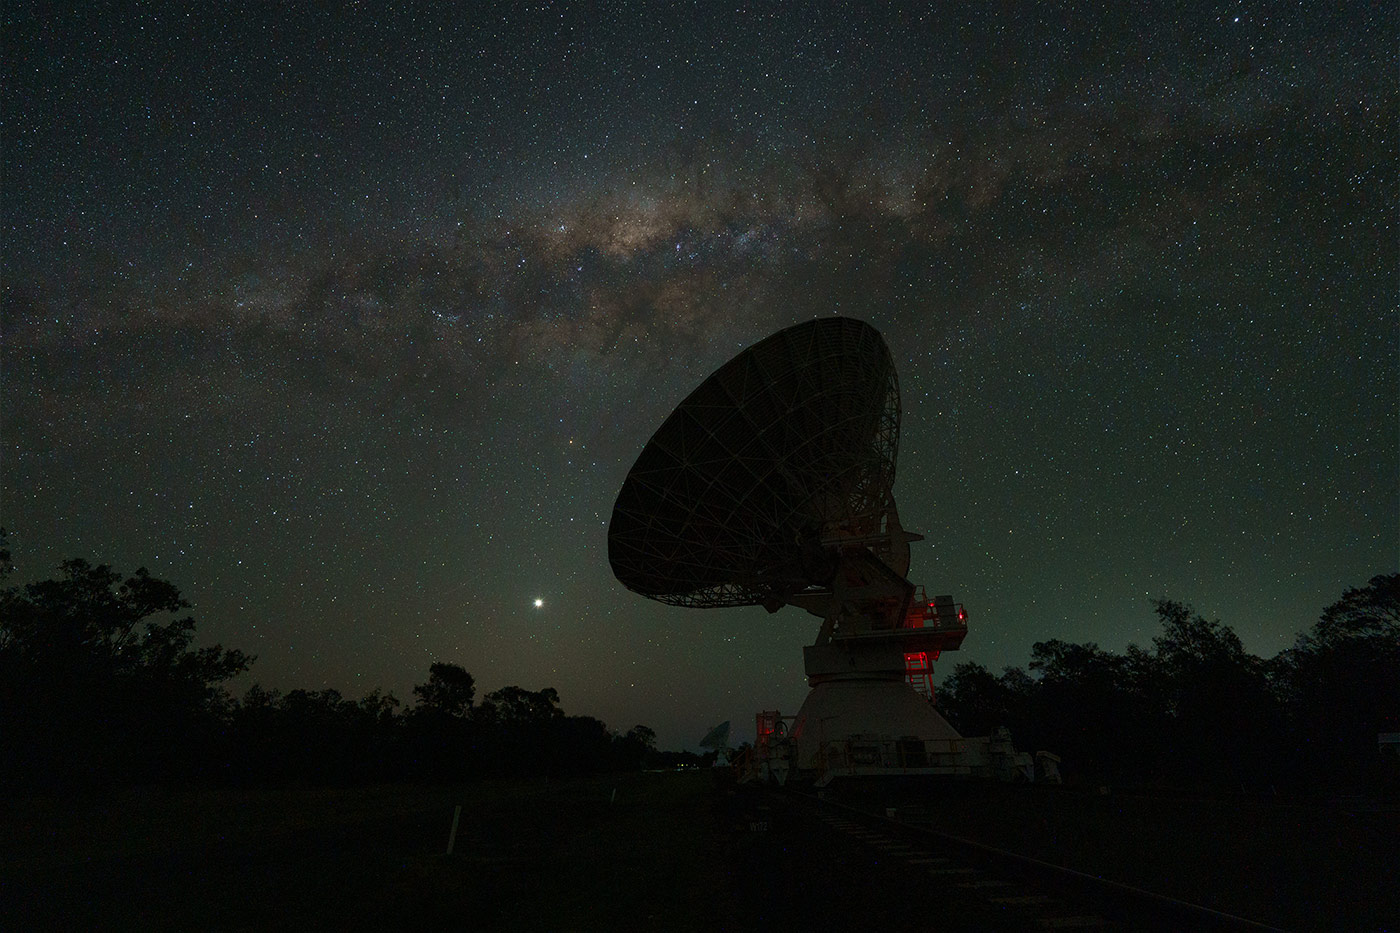
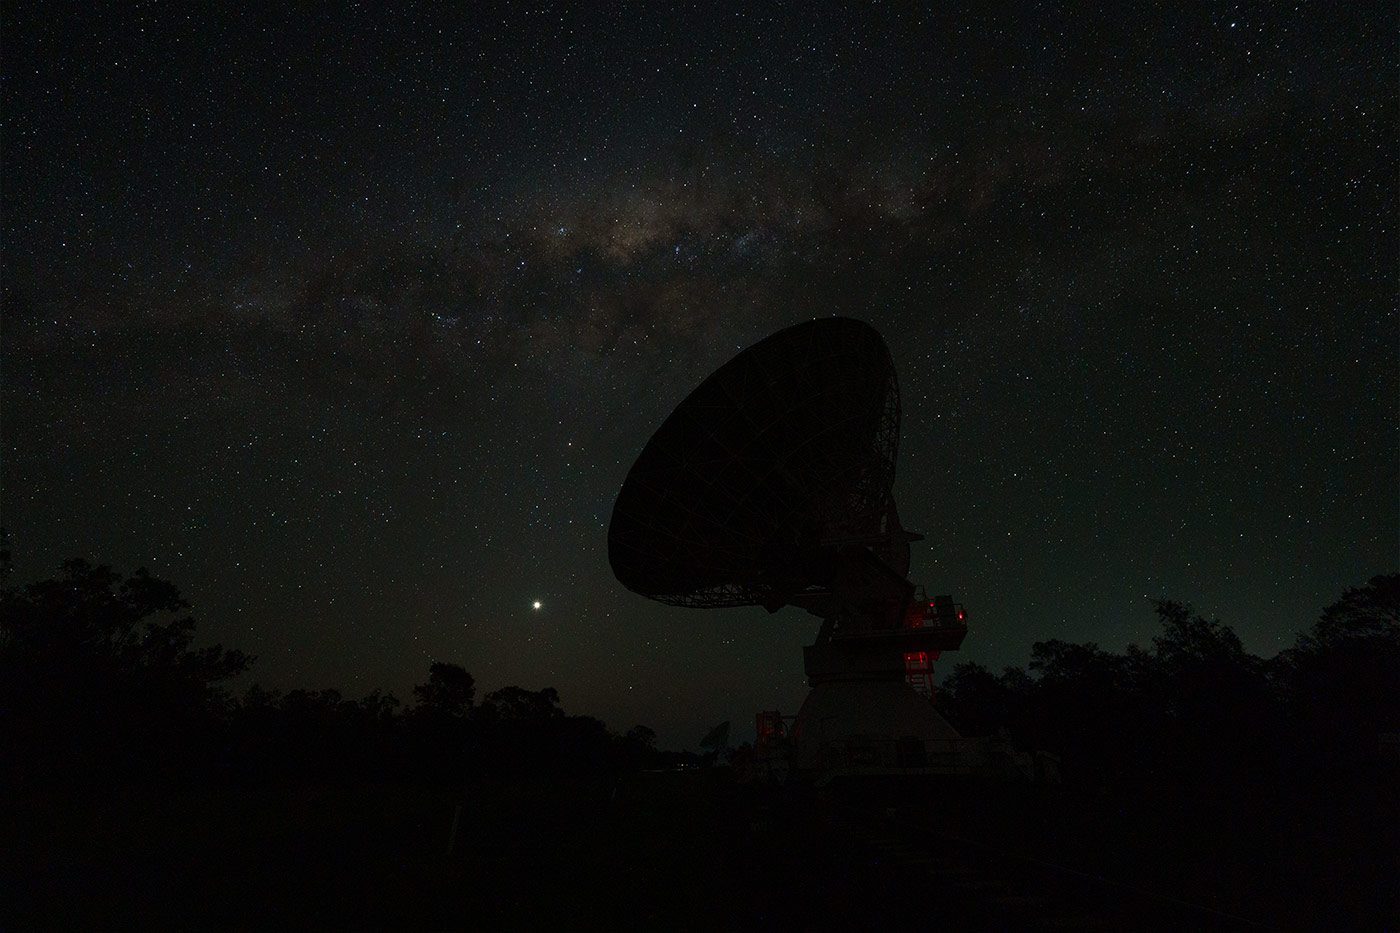
Your aperture matters: How aperture changes exposure
These are shots of the satellite dish, taken at different aperture settings.

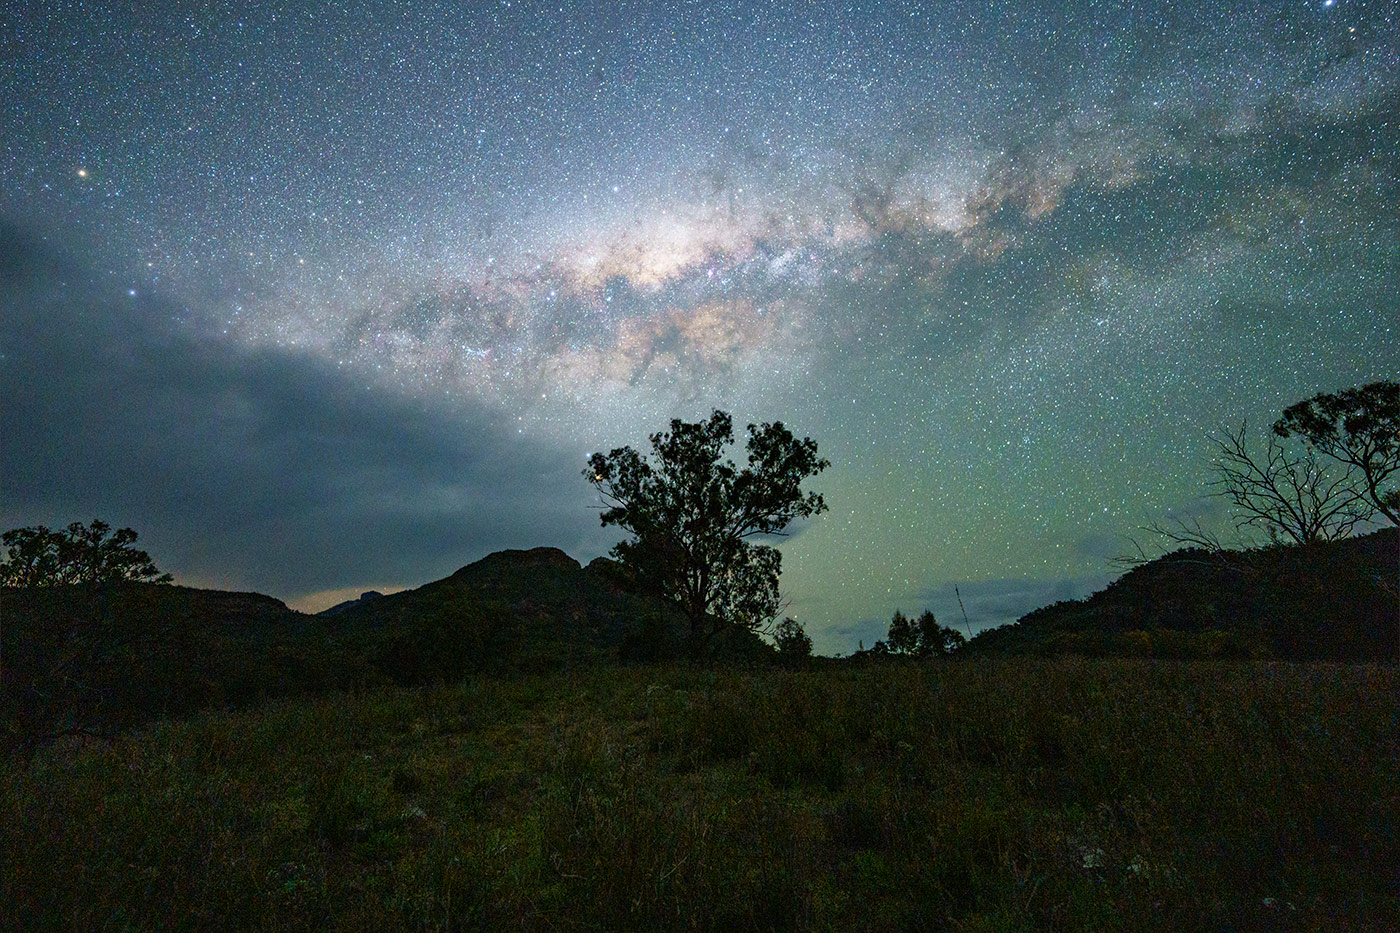
Mountains and meteors
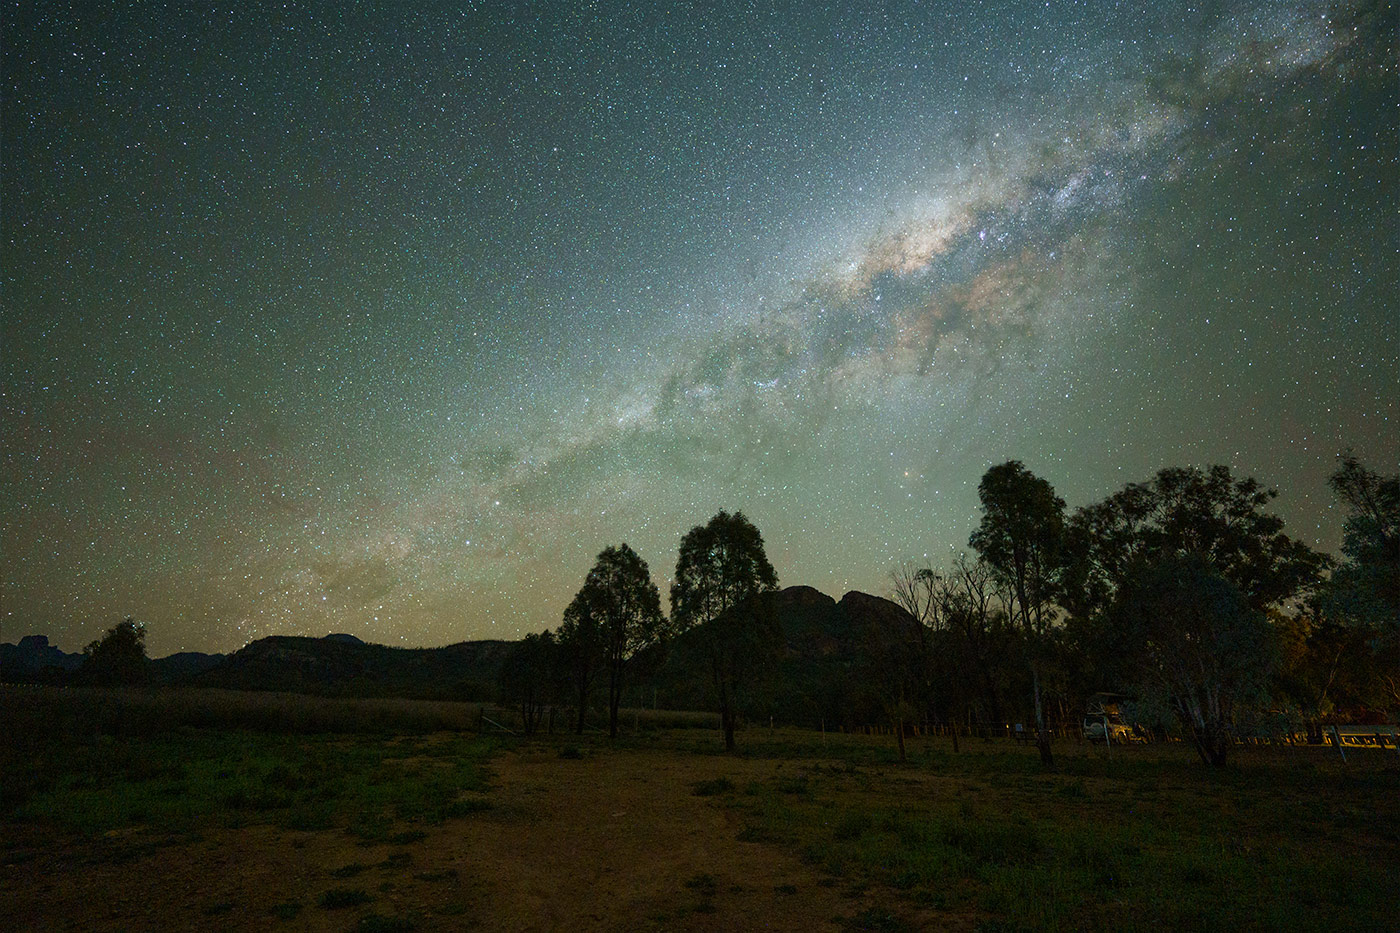
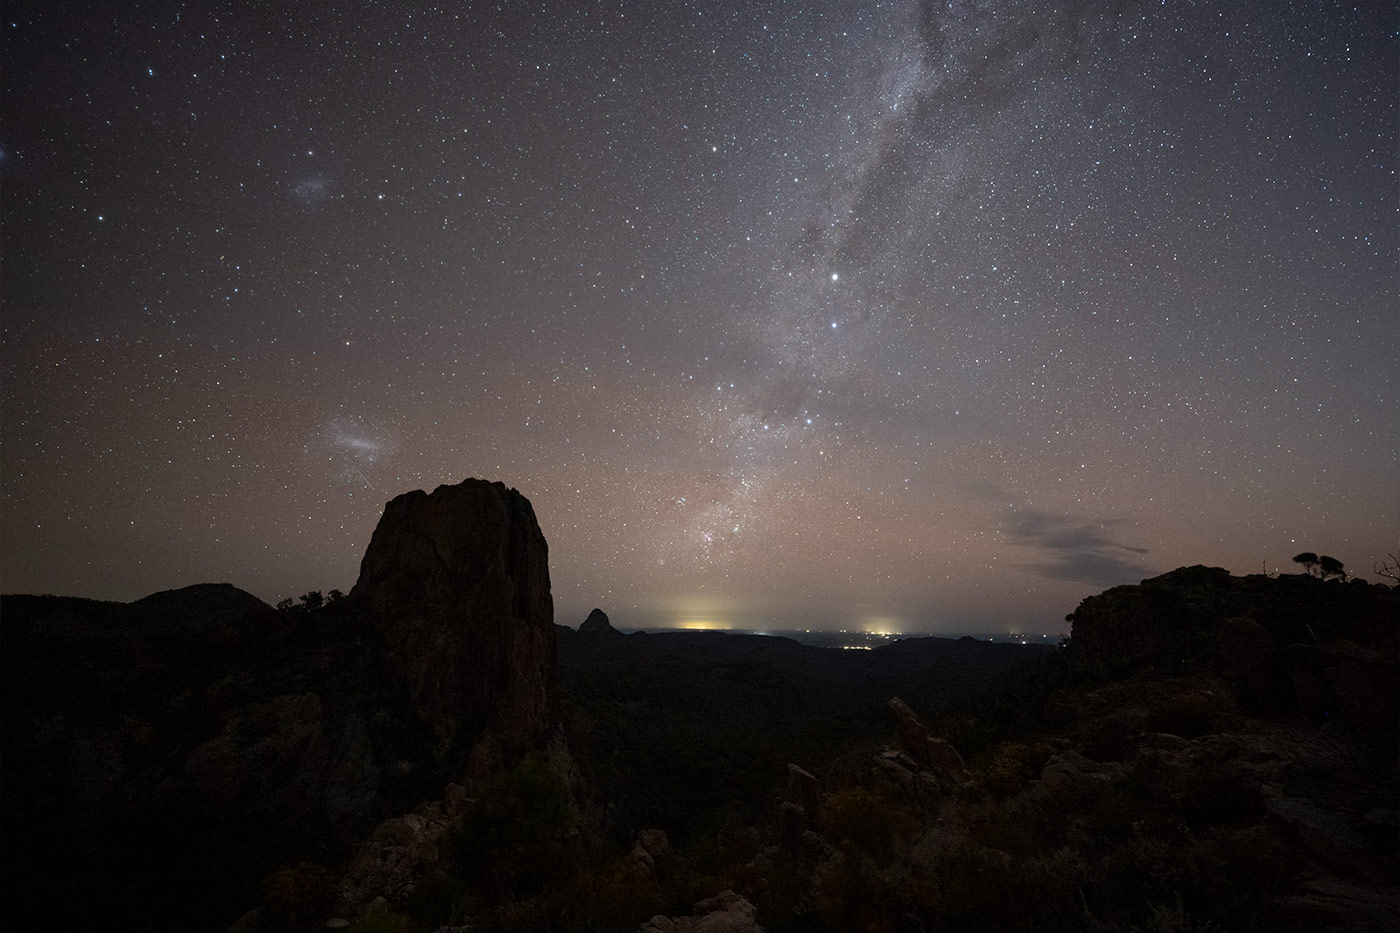
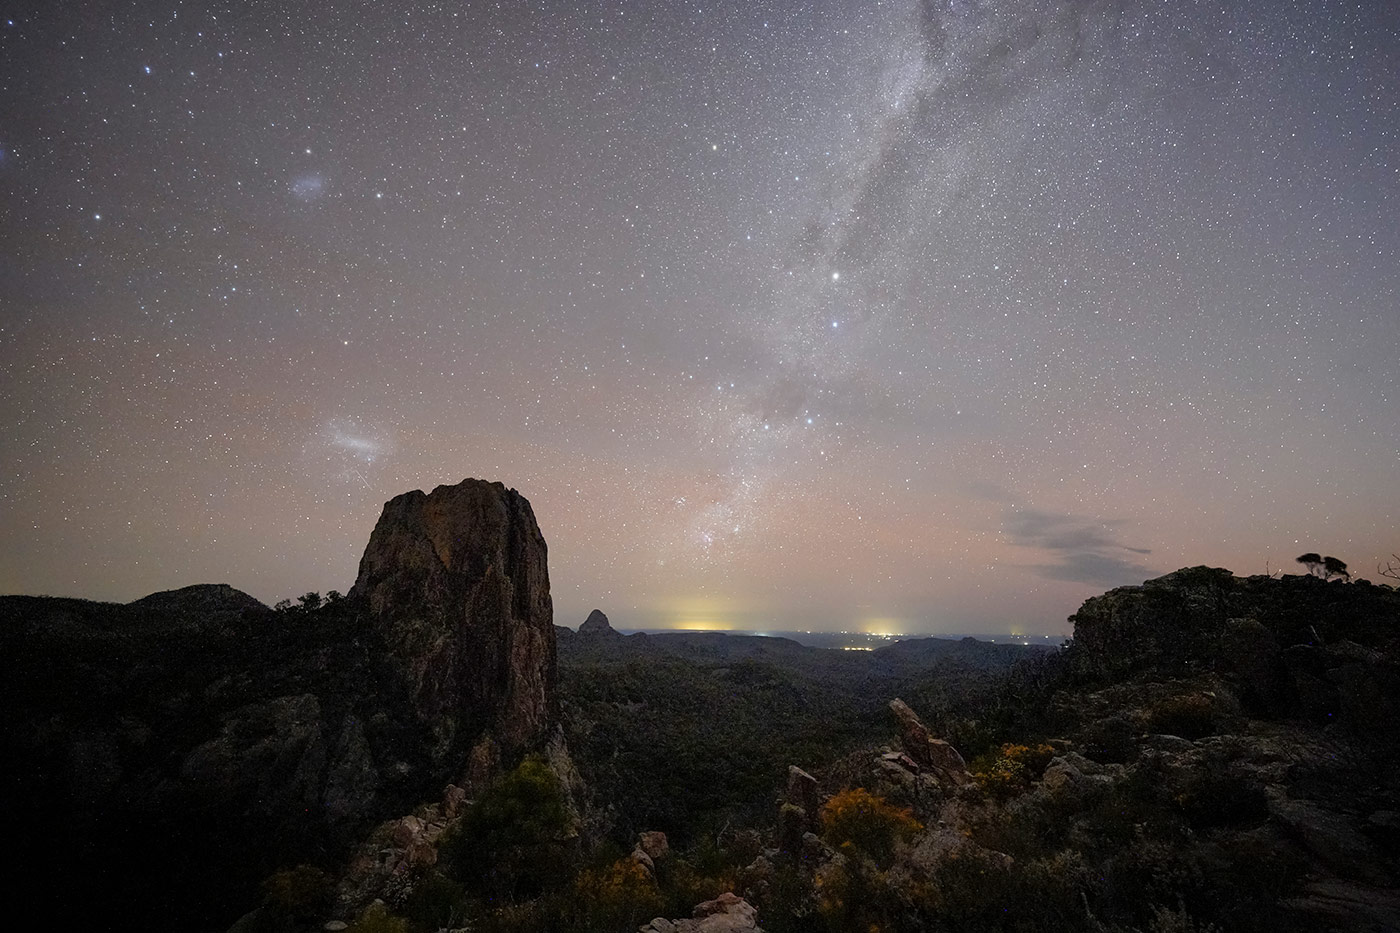
The Warrumbungles National Park and its ancient volcanic remnants is an idyllic location for astrophotographers. Here, you can capture stars across the volcanic formations of the Crater Bluff and Bluff Mountain.
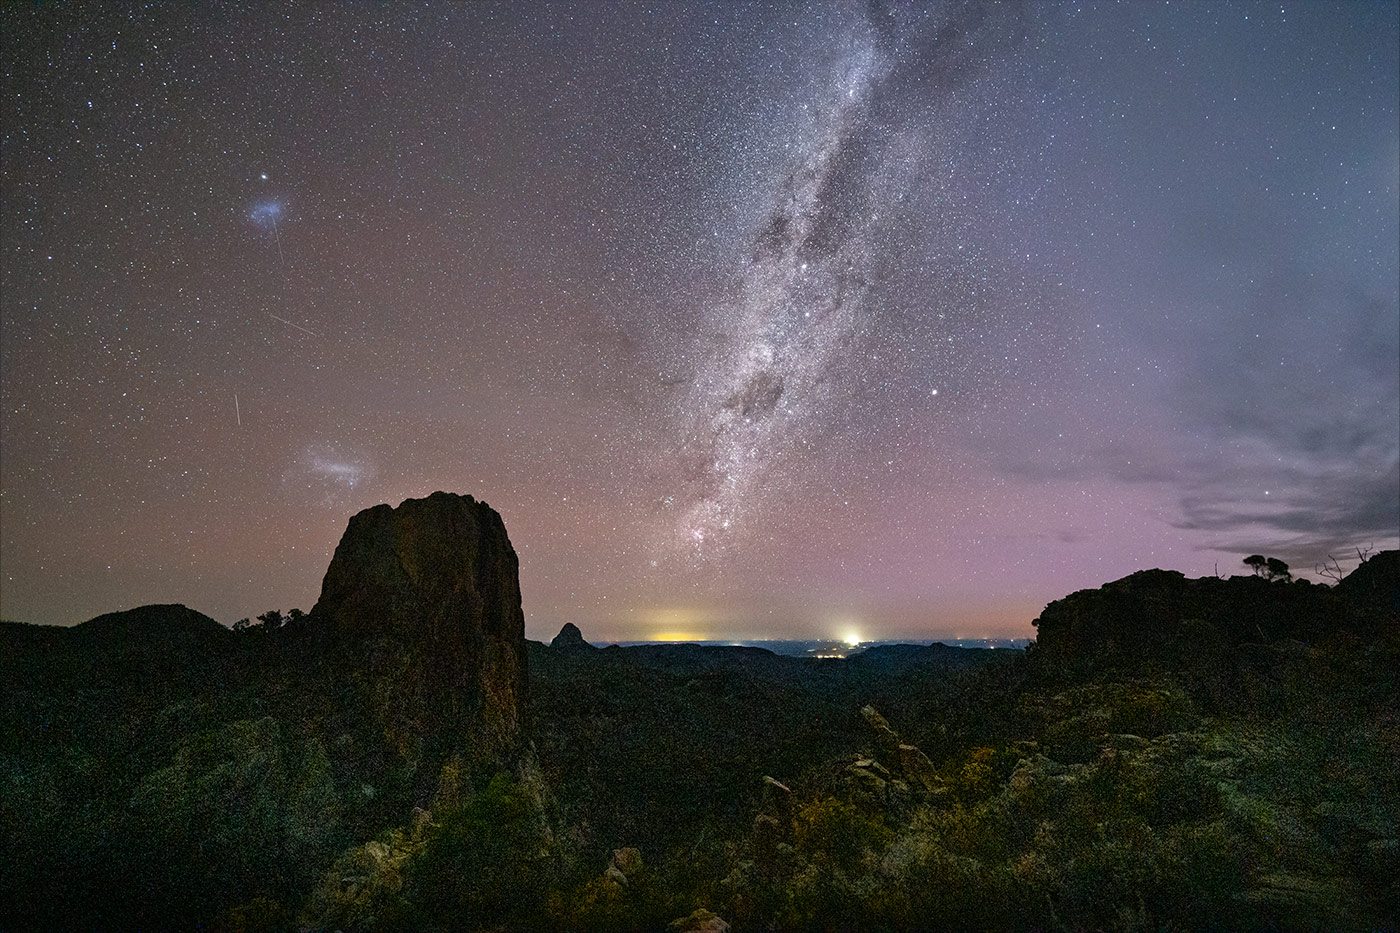
This shot was captured during last light. A pink airglow is visible in the sky, with the lights of the regional city of Dubbo in the distance. I focused the camera to capture the southern arm of the Milky Way and the Magellanic Clouds of Mensa and Hydrus, which are clearly visible in the southern sky.
I was also blessed with a few meteors in this shot, something you often don't see until you review your images on a computer screen!
Tips on distancing
When shooting night scenes, always think about all the elements you might be able to capture. Everyone can photograph the Milky Way or a star trail, but there is so much more in our night skies that our cameras can see.
This brings us to one of the biggest benefits of the FE 14mm F1.8 GM prime lens – its amazingly wide angle. What's more, 14mm is one of the best focal distances to capture the night skies, as it provides a beautifully sized view of the Milky Way and other deep space objects, along with the landscape you're shooting.
Pro advice: These apps are your astrophotography buddies
Apps have contributed to the rise in popularity of astrophotography. You can use these to help plan your shoots as you'll be able to locate the Milky Way, the moon and other objects in the night sky – from any given location, and on any given date!
Some apps even use augmented reality, so you can see what a location will look like with the Milky Way composed onto it. These apps are must-haves for any astrophotographer, whether you're an experienced professional or a beginner who's just starting out.
The splendour of astrophotography
The breathtaking experience of gazing at a crystal-clear night sky is something often missed, especially if you live in a heavily light polluted area. But when you set out to capture the galaxy with your camera, everything takes on a whole new meaning.
These are my preferred astrophotography settings on the Alpha 7C, which you can use to get started (before finding your own sweet spot on your camera).
- Don't have a remote? No worries, simply use the 2-second. But remember, the timer light on the front of the camera can cast an orange glow in someone else's photograph – so play nice by placing a piece of black electrical tape over it.
- Try using the Dynamic Range Optimiser (DRO) if your landscape is very dark. Remember, this only applies to JPG files – so your editing and control will be more limited, compared to having a RAW file.
- If your landscape is too dark, you can also use a "Picture Profile". PP3 provides a huge gain in dynamic range, but at the cost of colour (gamma). However, this can be fixed (to a certain degree) in your editing workflow.
- Focus Peaking can help with finding the optimum focus point of your stars – especially in wide open apertures – by highlighting stars (that you may have otherwise missed) in the focus magnifier.
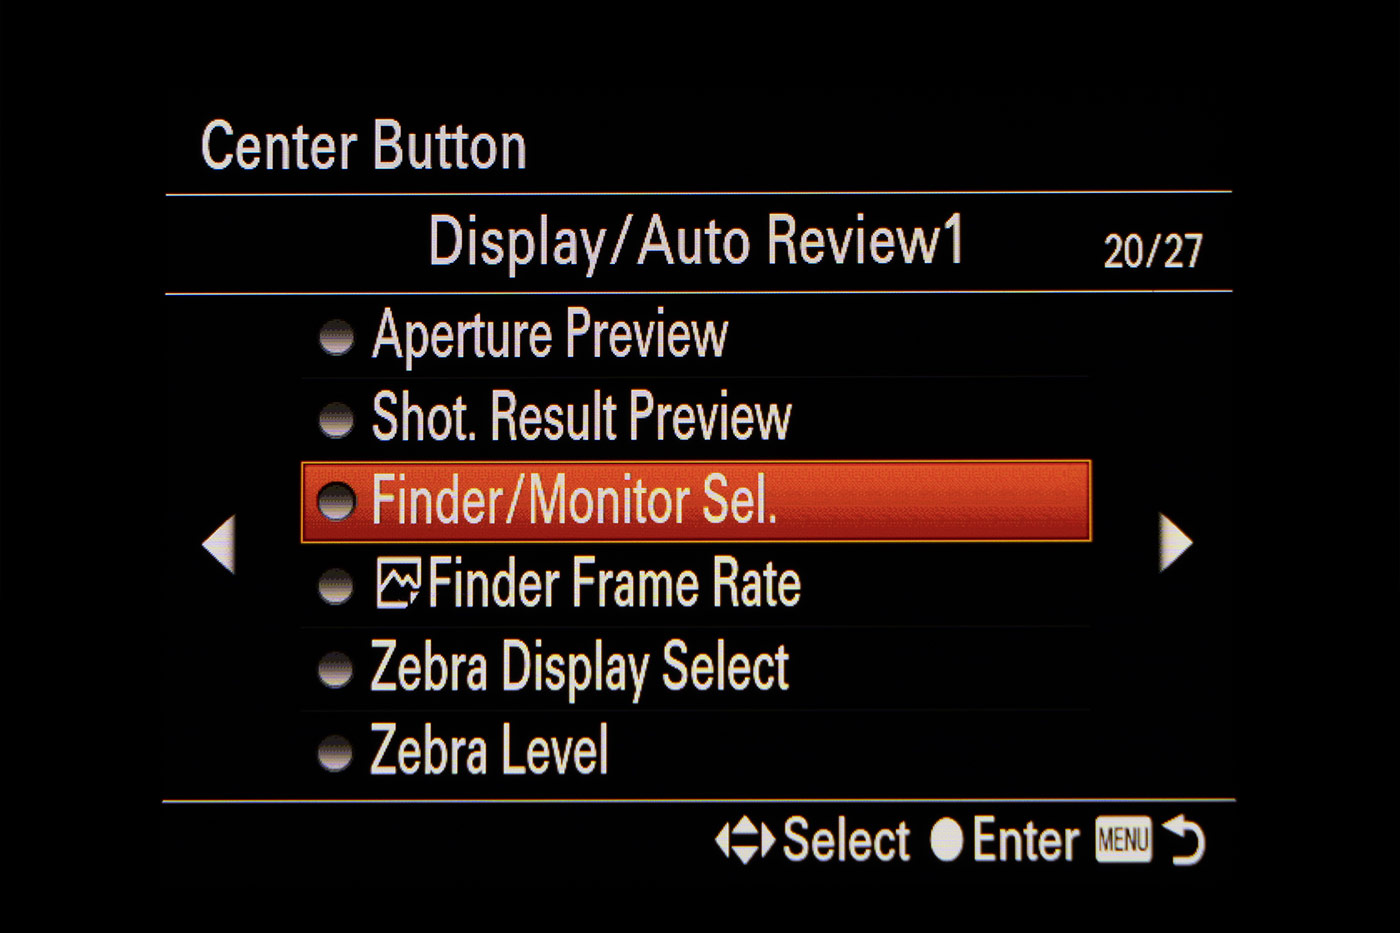
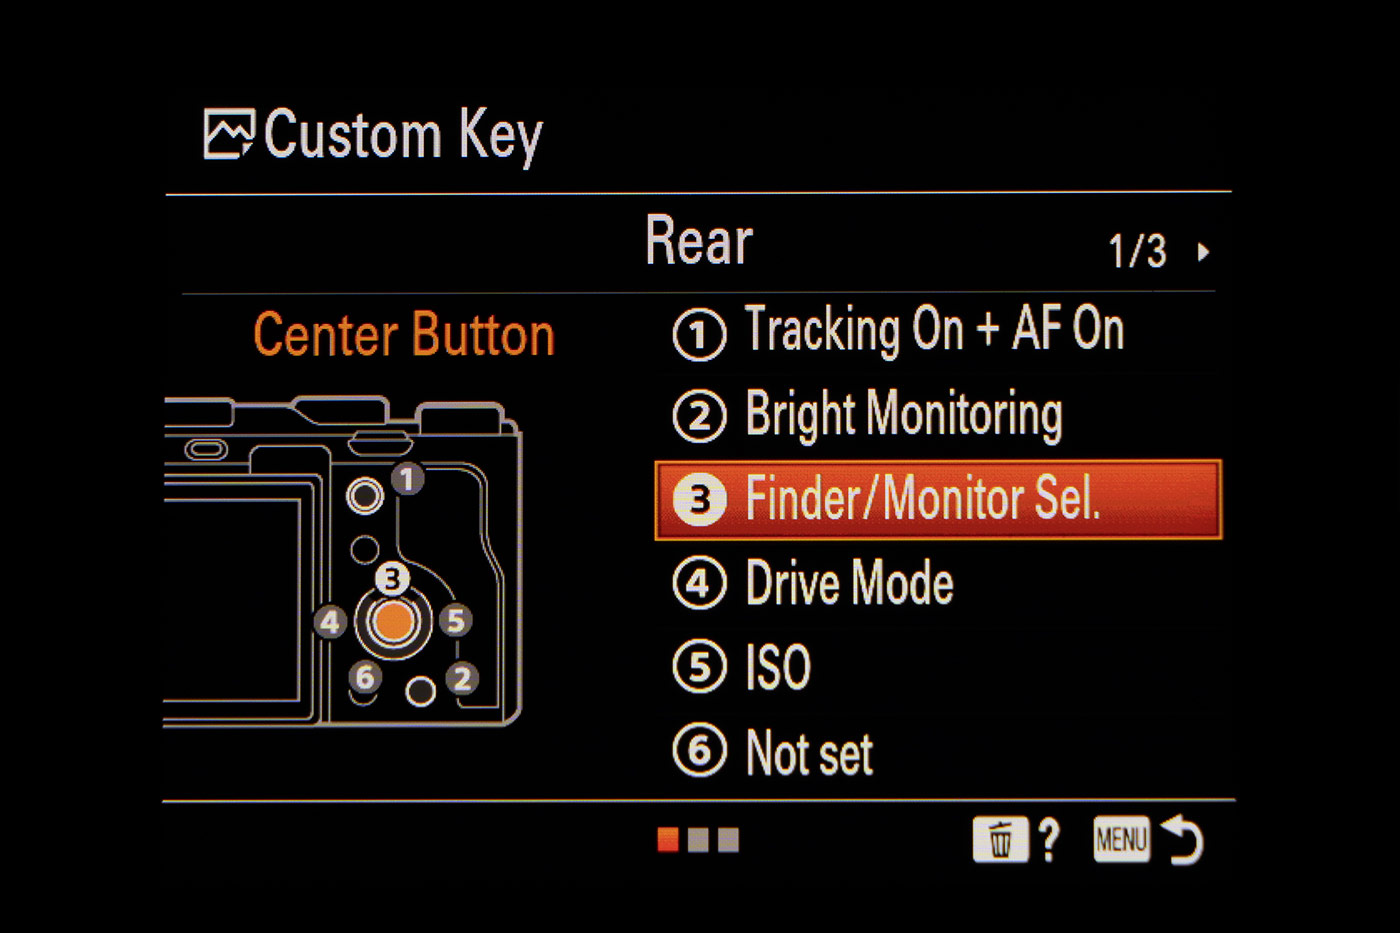
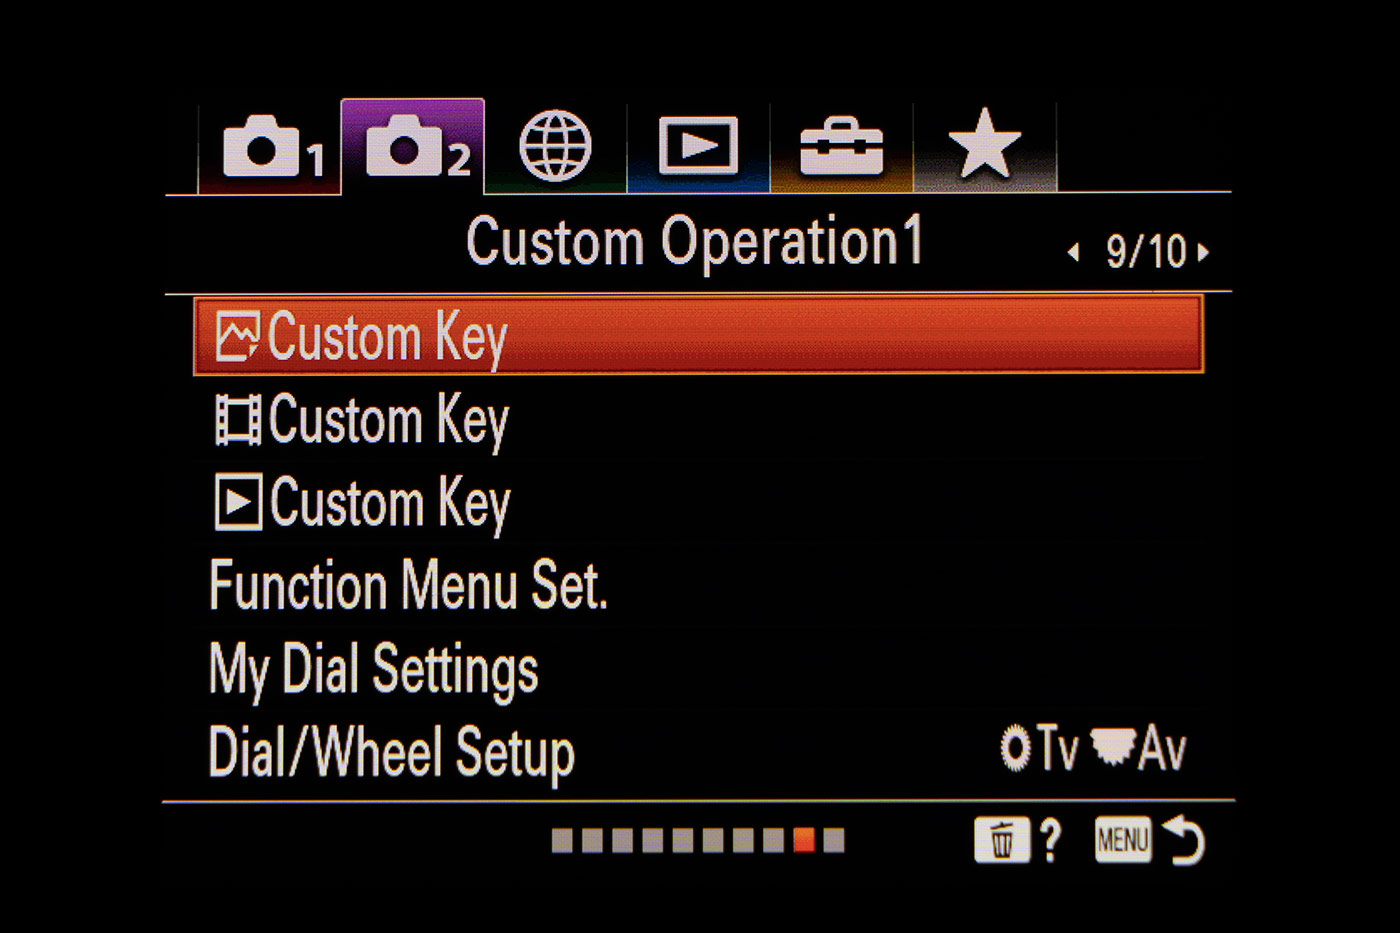
- Set the Finder/Monitor selection to a button. (I normally use the centre button on the dial.) This can help reduce battery consumption when shooting star trails or timelapse shots.

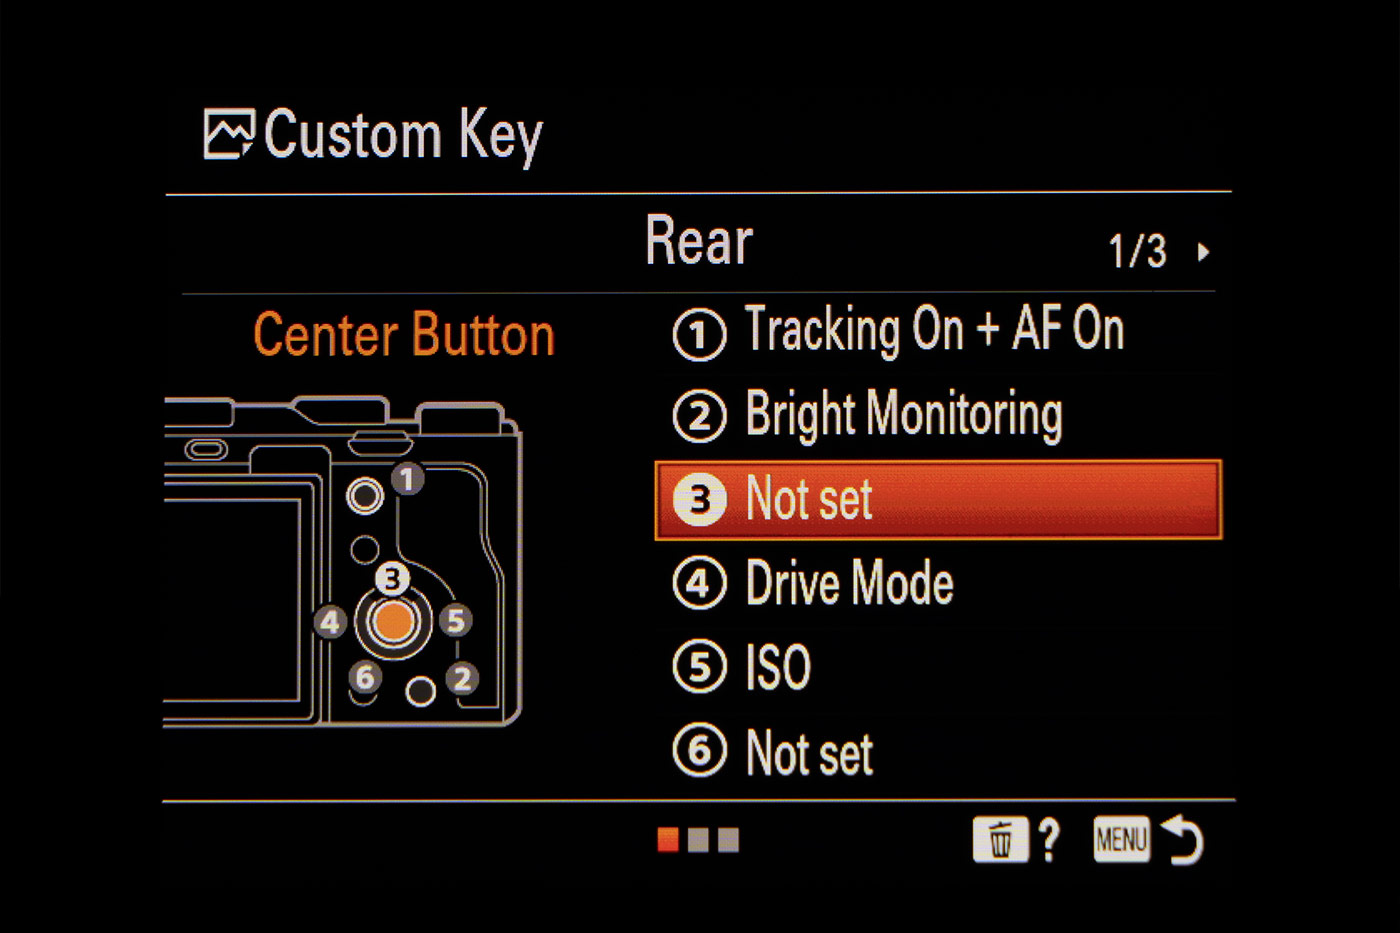
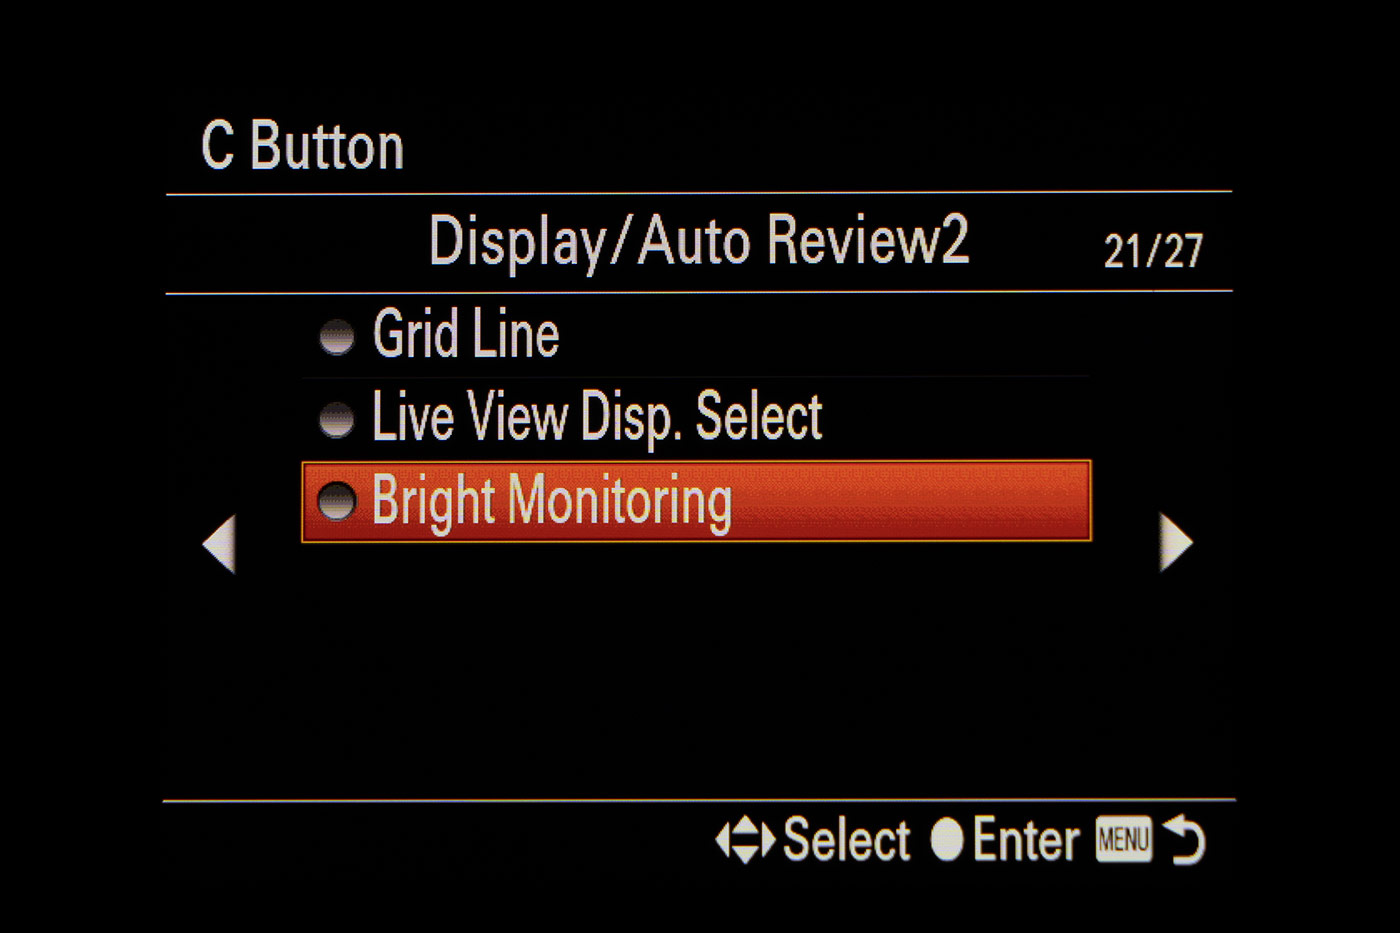
- Enable Bright Monitoring to add more dynamic range to your Liveview. This can really help when composing a dark scene.

- Use the Memory function of your camera to save your Astro setup. This way, you can switch it on a access it quickly – while also switching back to normal settings in a snap. This ensures you won't miss a wildlife shot or a family moment, while switching your ISO and exposure time back to your regular daytime settings.

As you spend time under a blanket of stars, you learn more about celestial objects found at different times of the year. You study constellations, observe how the earth's movement creates the motion we see in star trails, and so much more.
All this knowledge augments the experience of astrophotography and transforms each experience into a unique and mesmerising affair. It's an addiction that's led me to explore the world from a new point of view, while expanding my photographic repertoire with new and exciting techniques.
And I capture all this, with my trusted Alpha 7C camera, FE 14mm F1.8 GM prime lens and FE 12-24mm F2.8 GM zoom lens.